Enhance your email marketing strategy by personalising subject lines using dynamic texts with Maileon
Go to maileon.com/login
1. Introduction
This guide will walk you through the process of customising subject lines to increase engagement and relevance for your recipients.
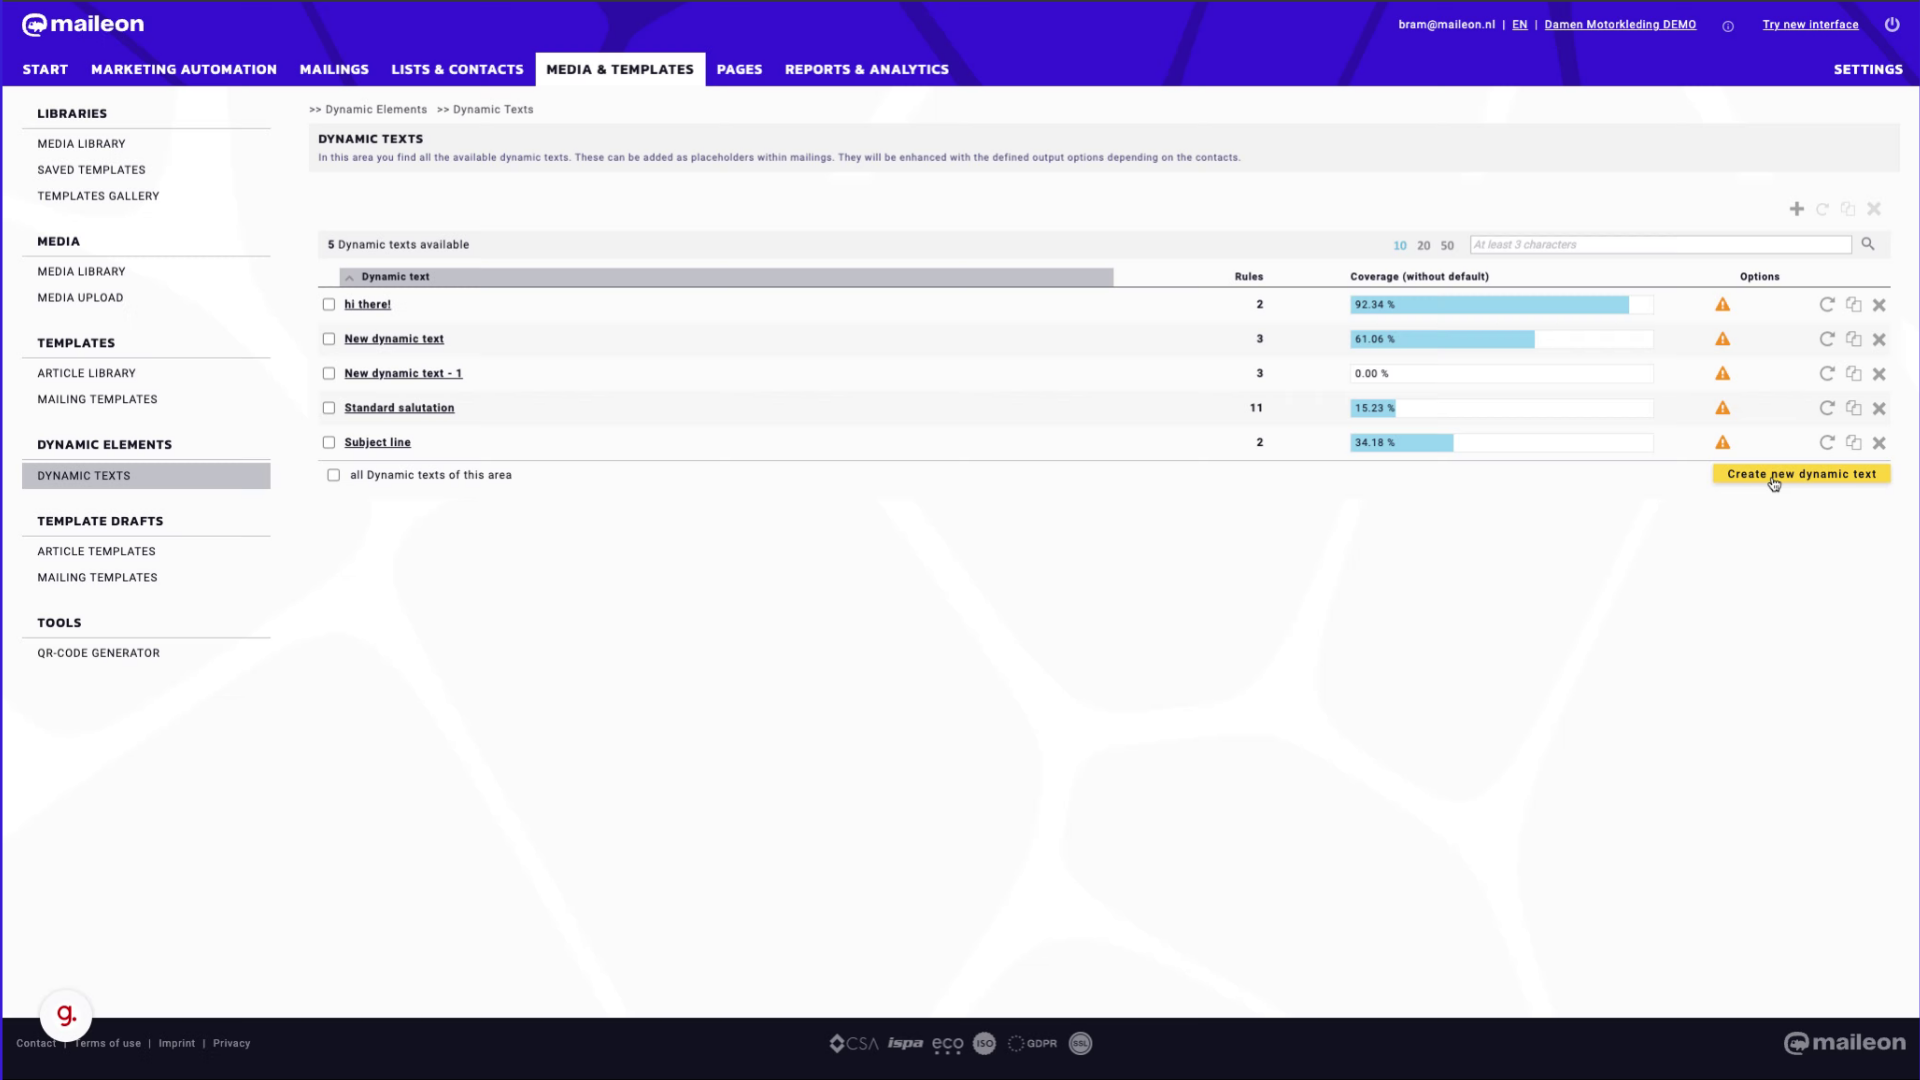
2. Click "Create new dynamic text"
Start by creating a new dynamic text for personalized subject lines.
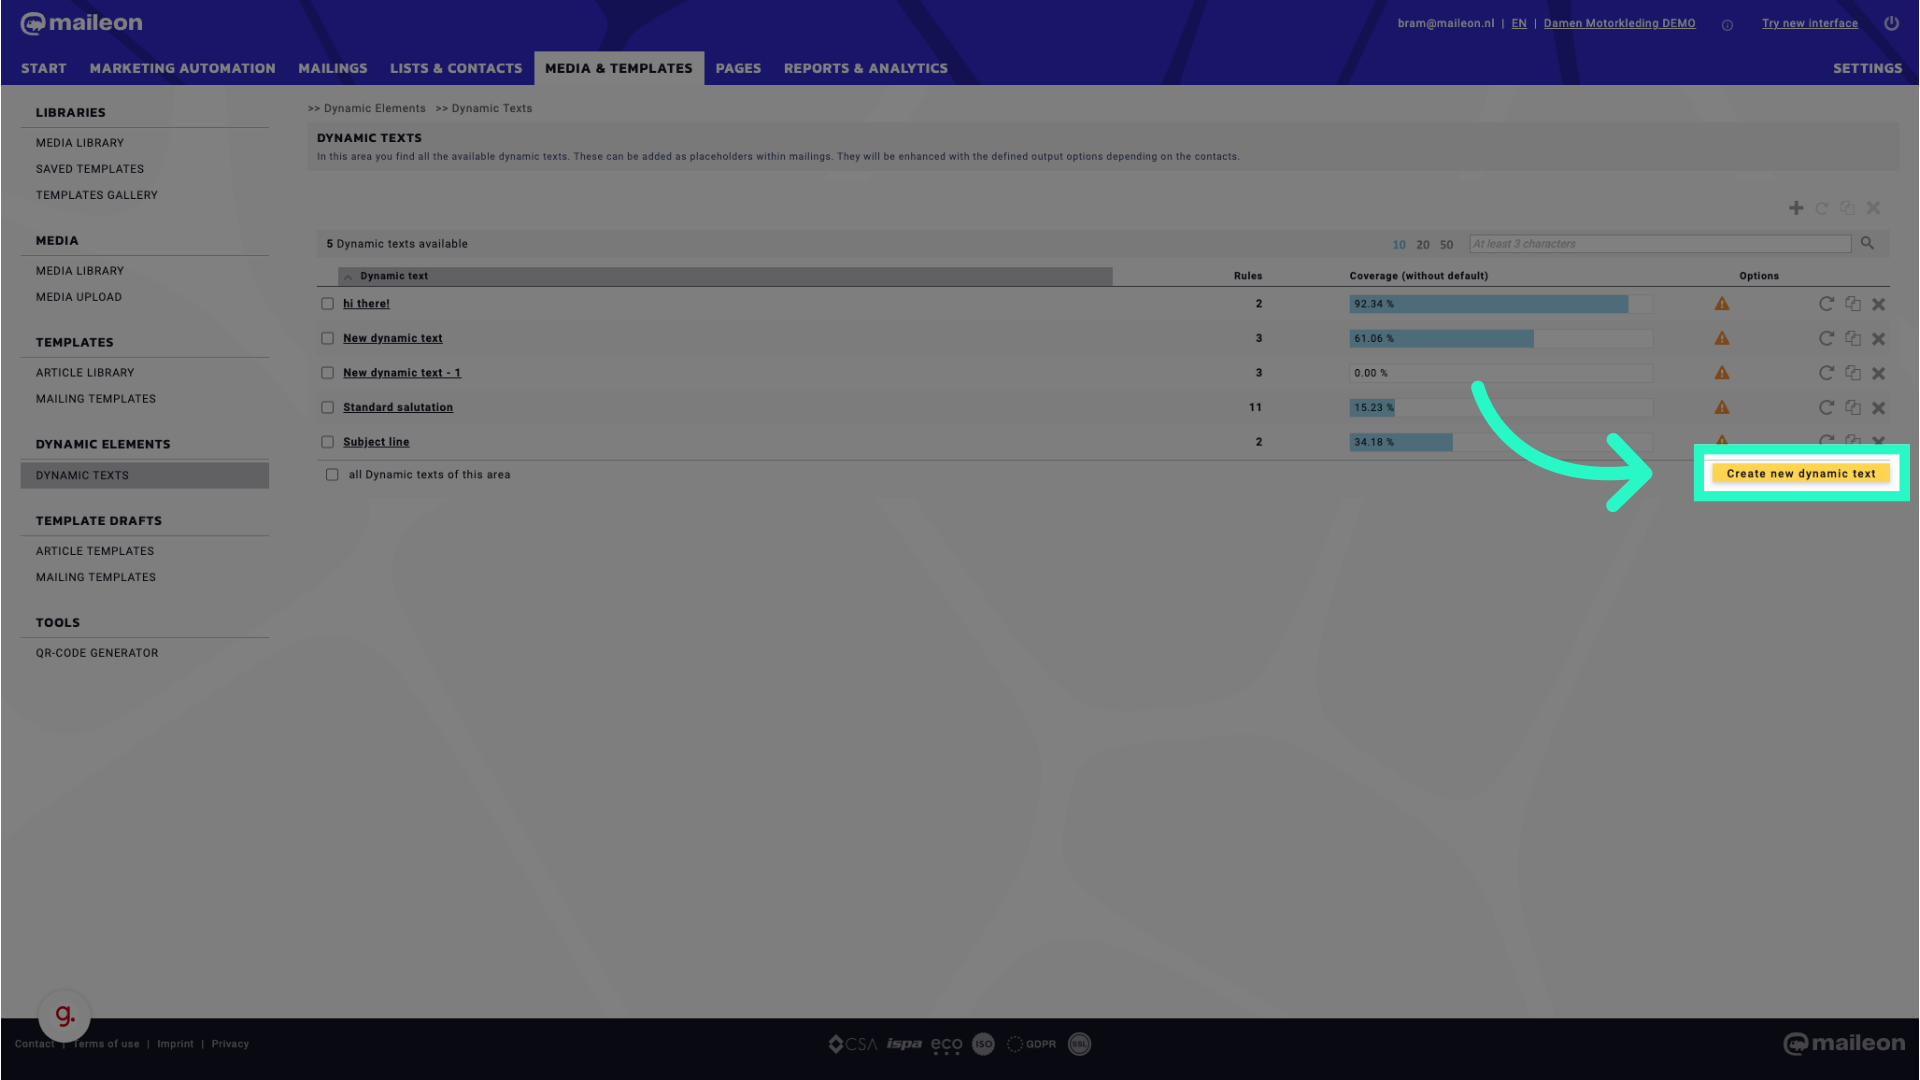
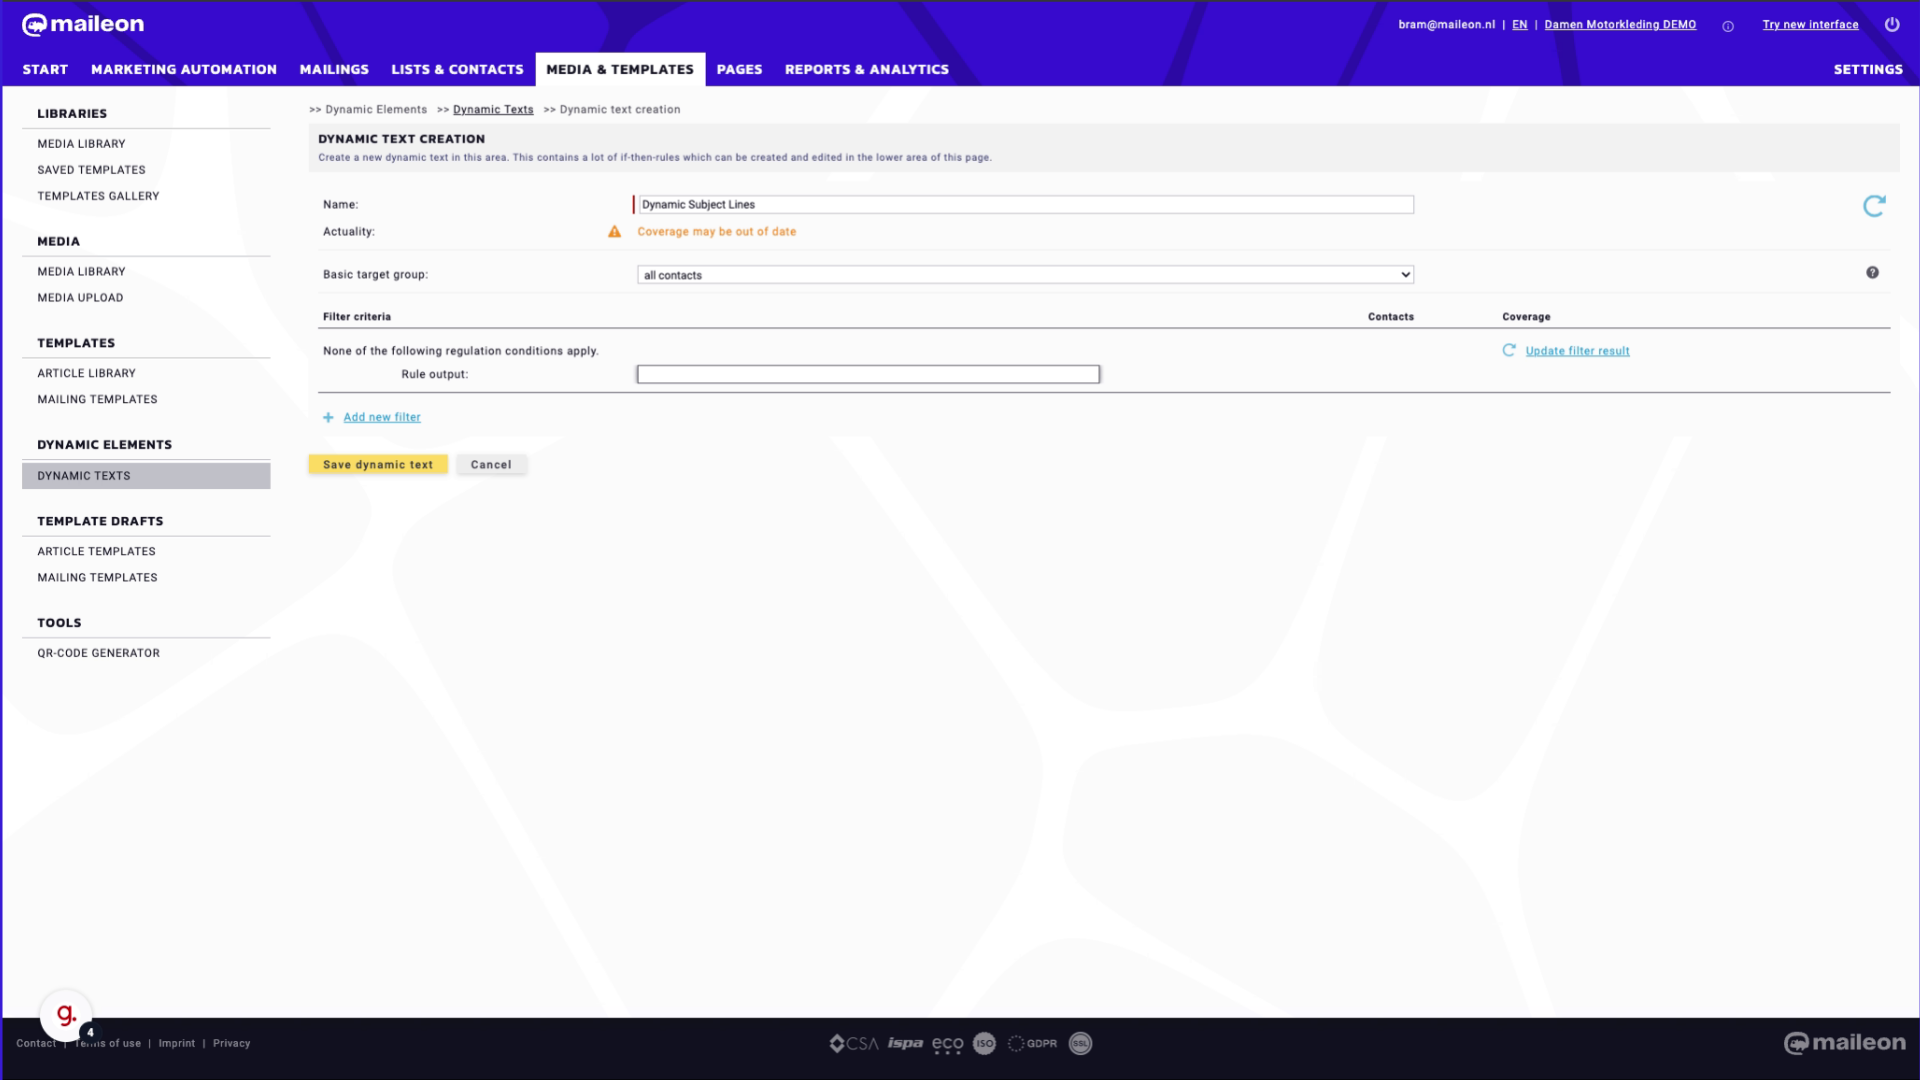
3. Click "New dynamic text" and give it a recognisable title.
Proceed by selecting the option for creating a new dynamic text.
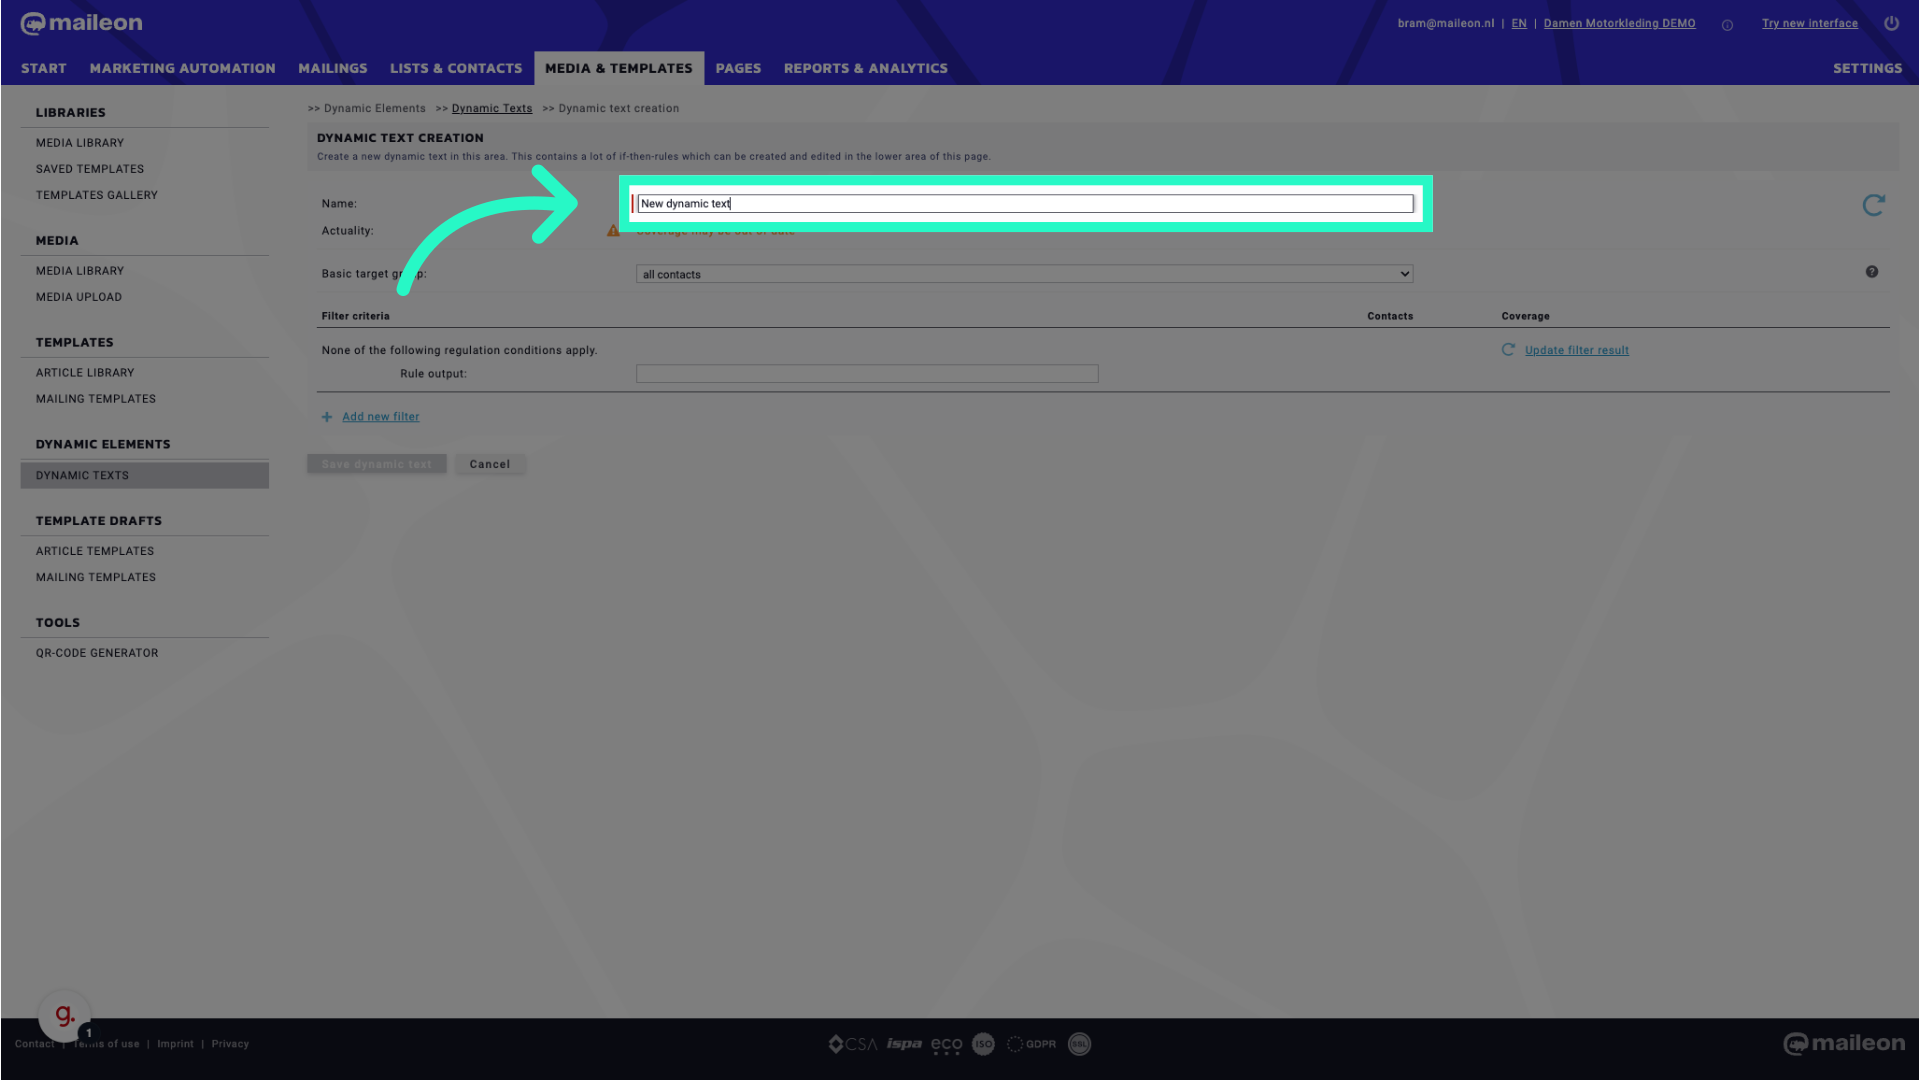
4. Click here and fill it with a fall back title
Navigate to the desired section by clicking here.
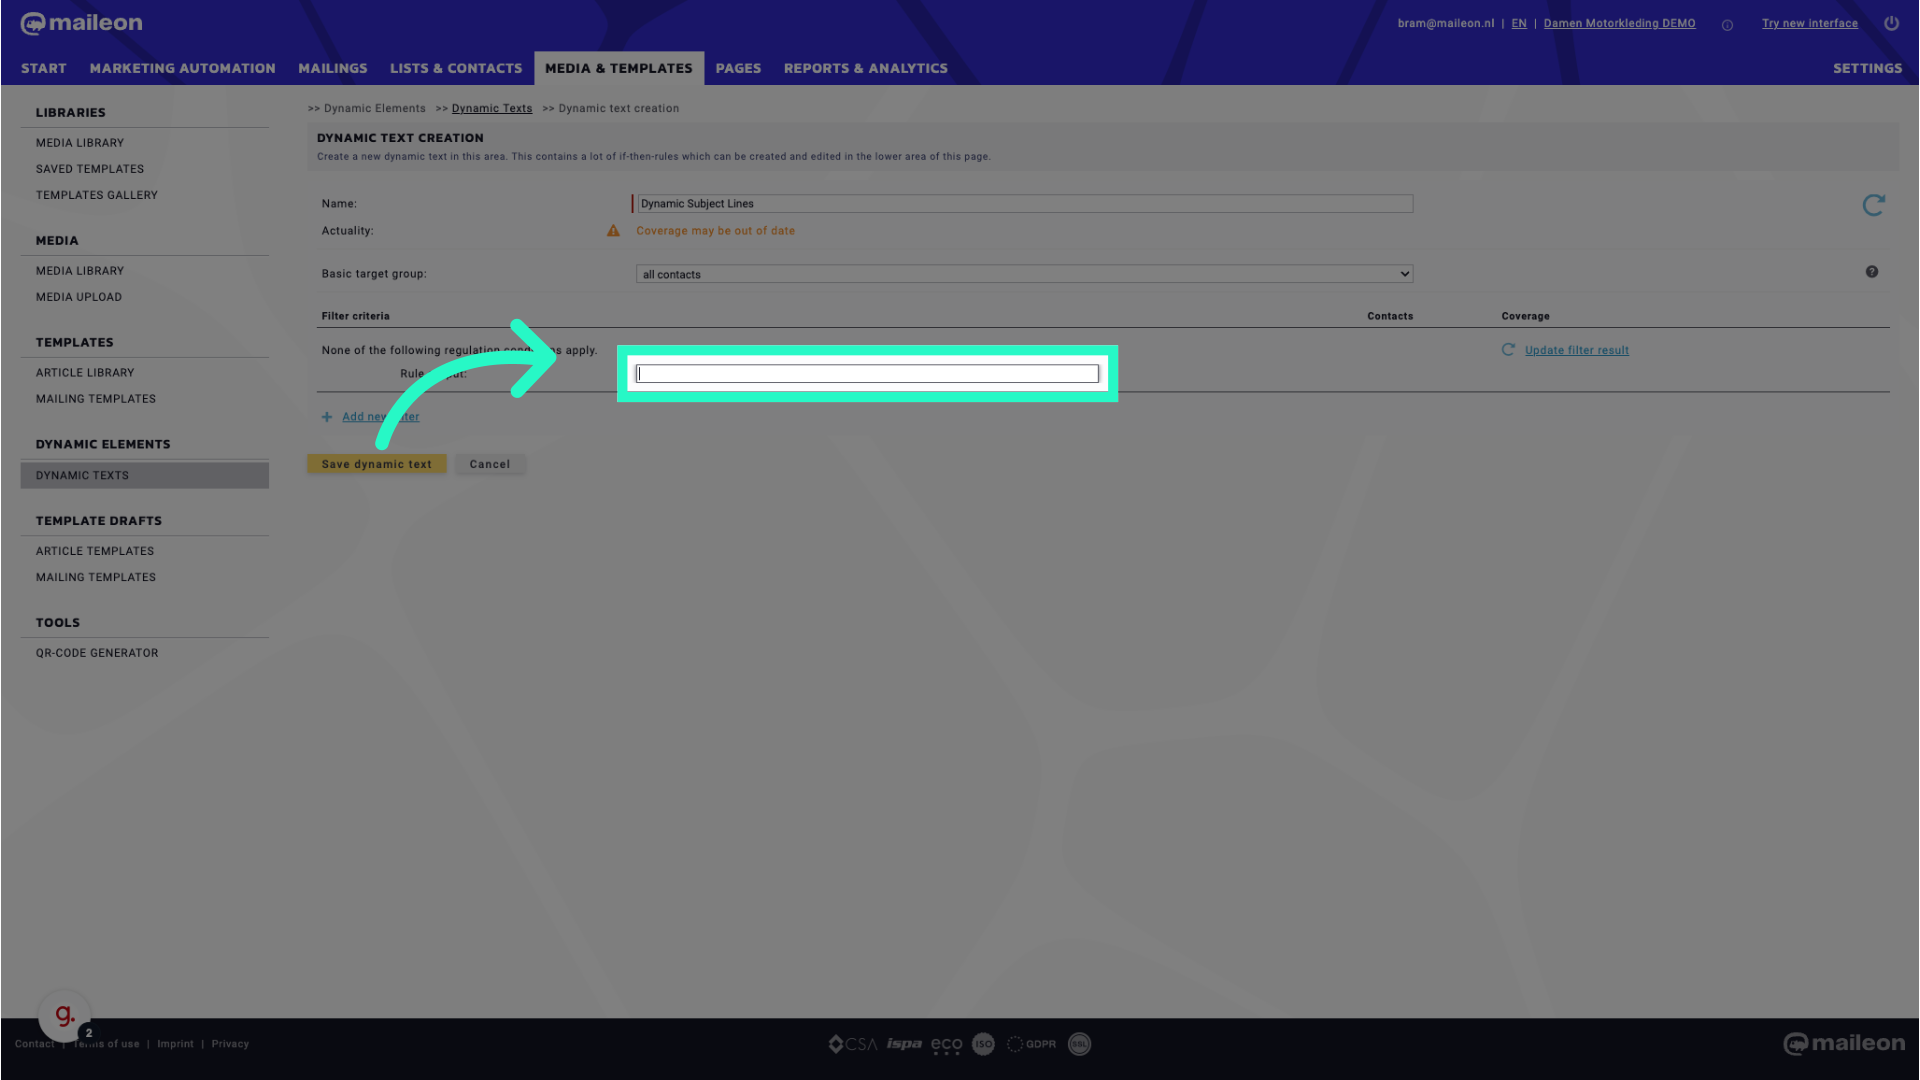
5. Fill "Read our latest newsletter"
Enter "Read our latest newsletter" in the provided field
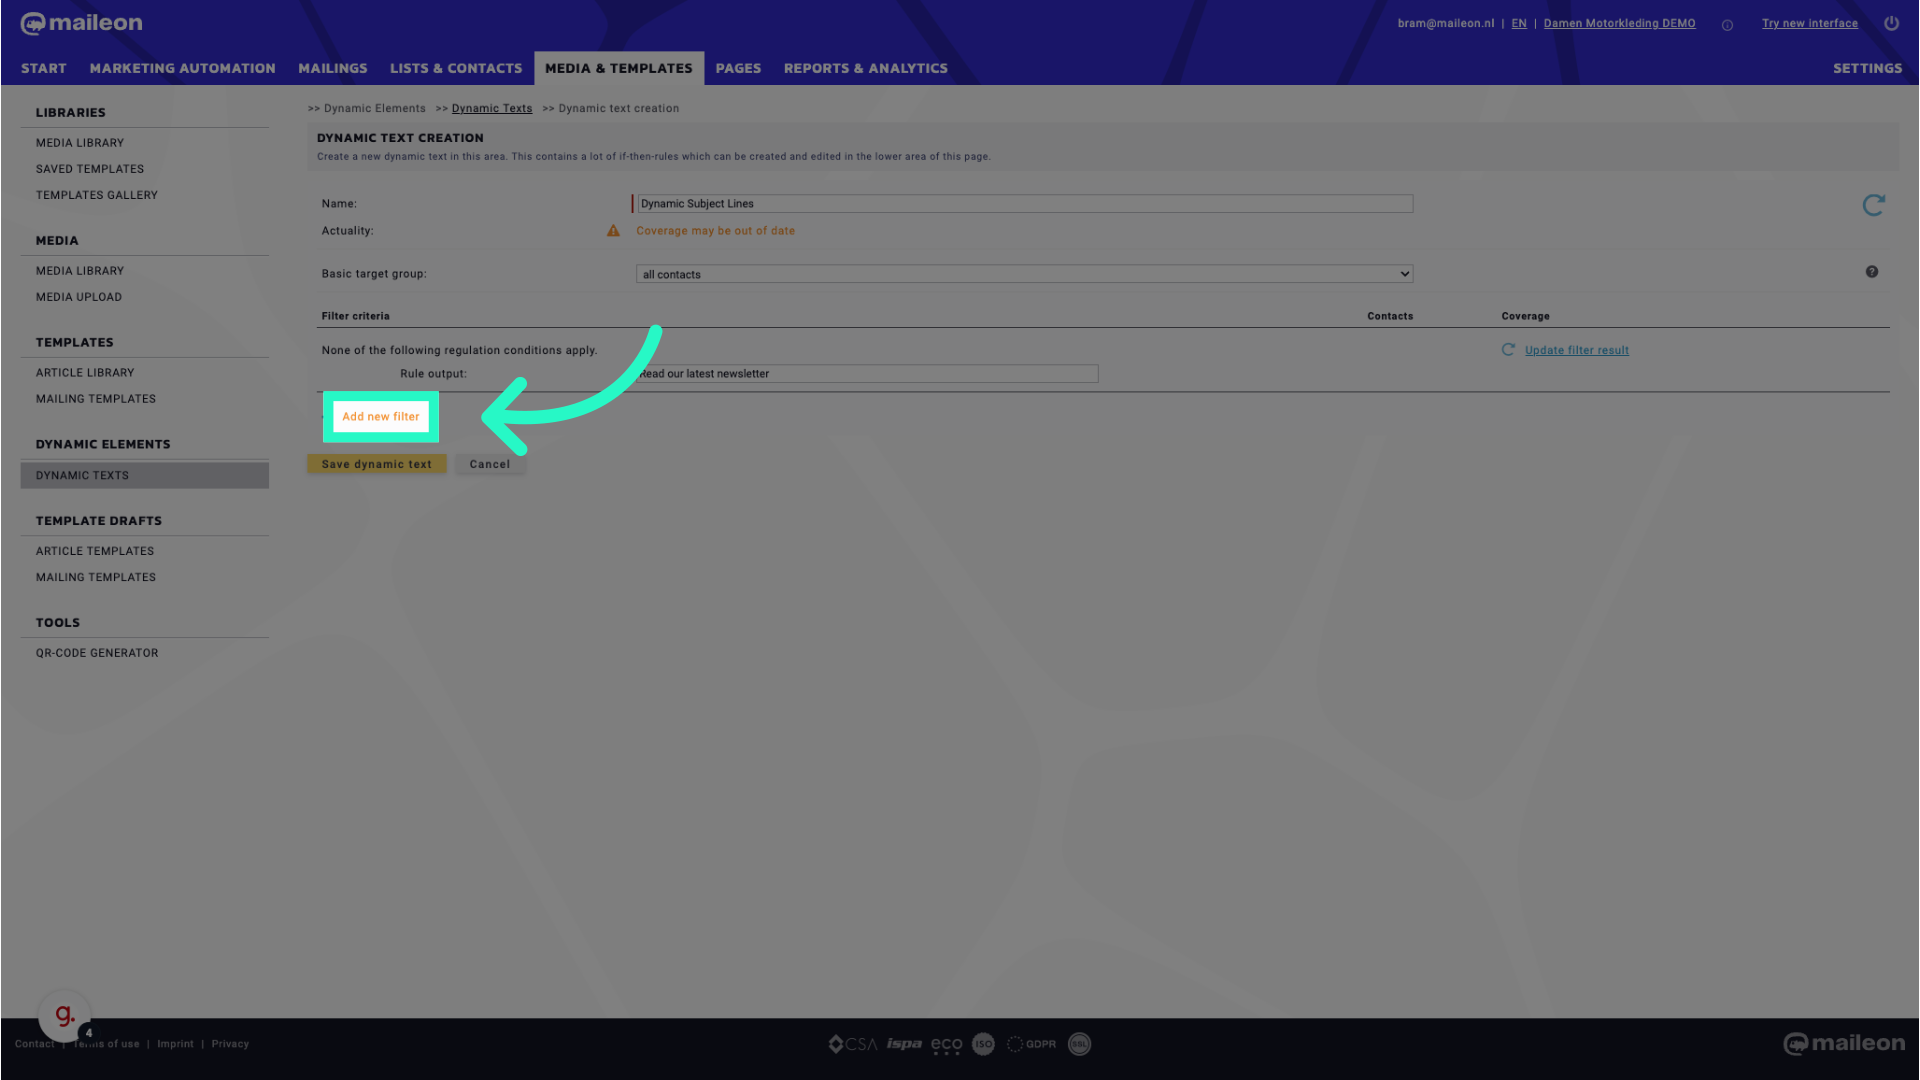
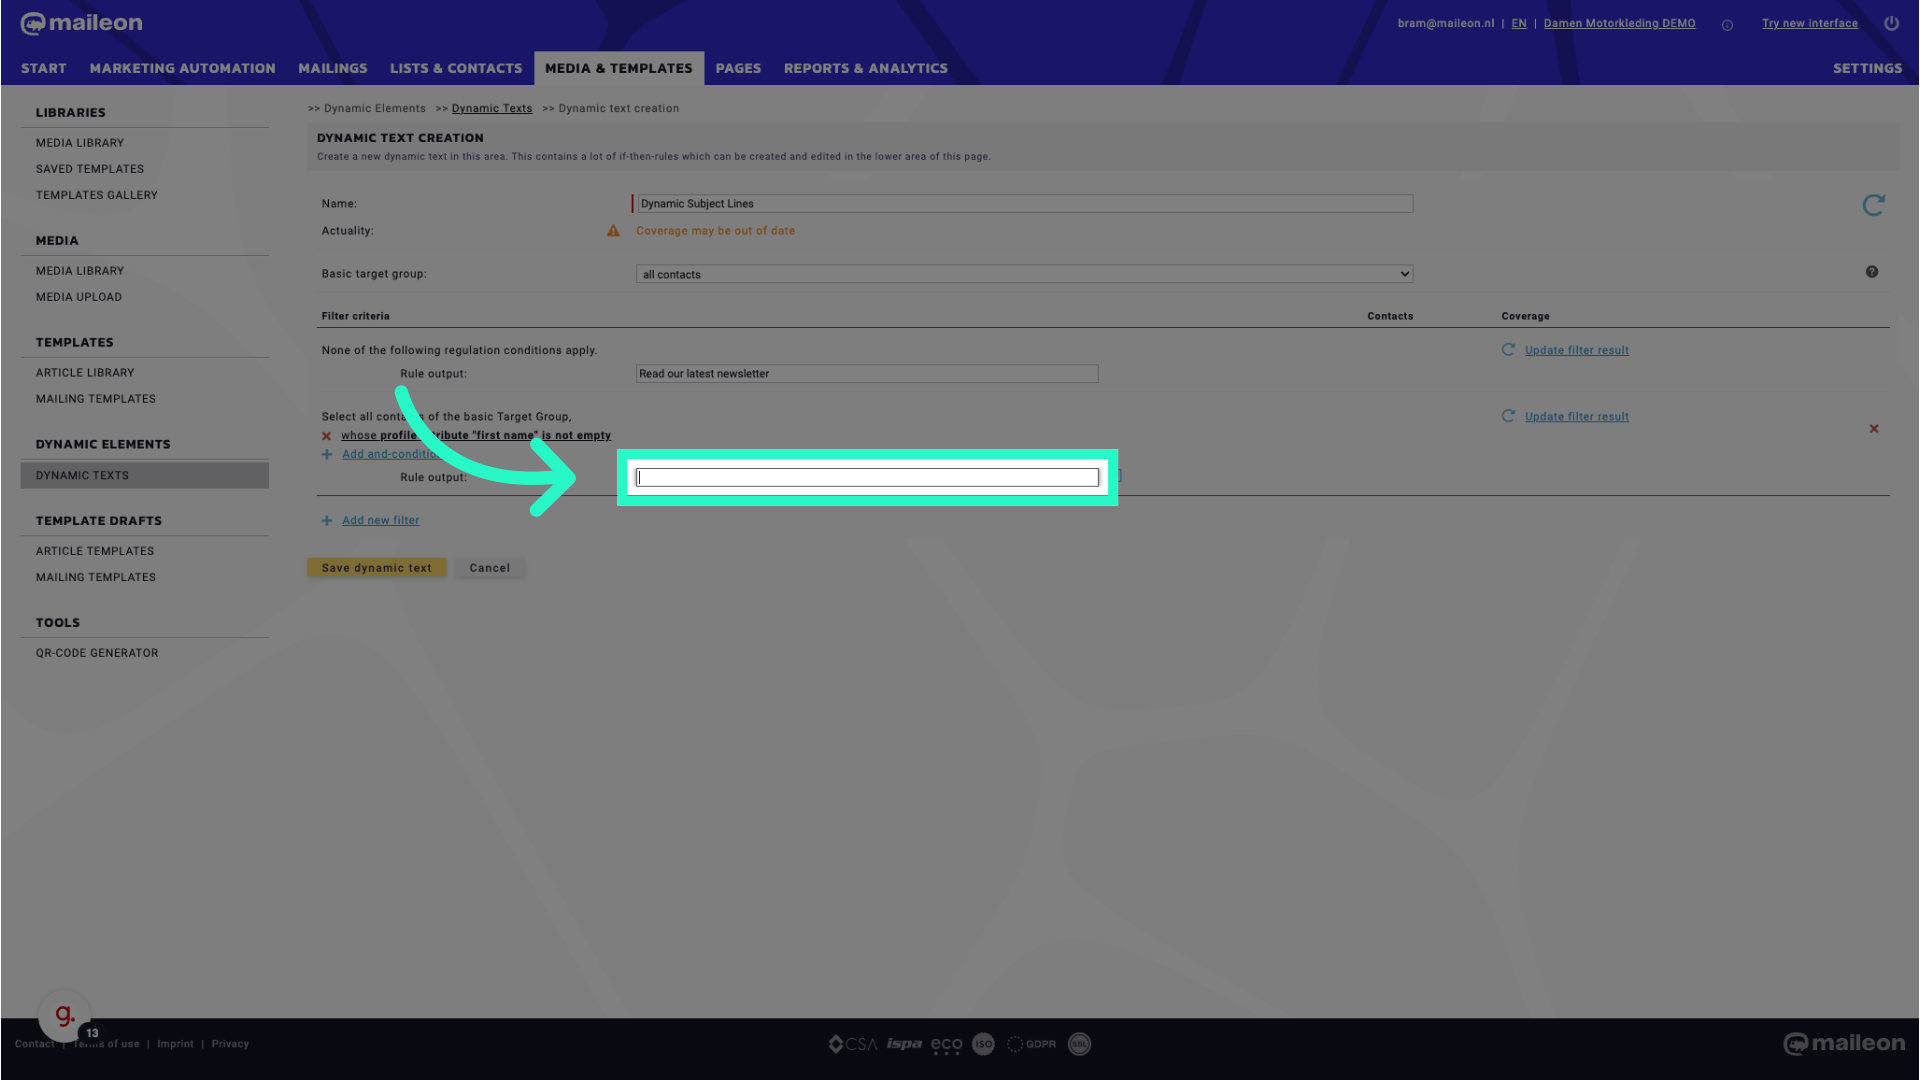
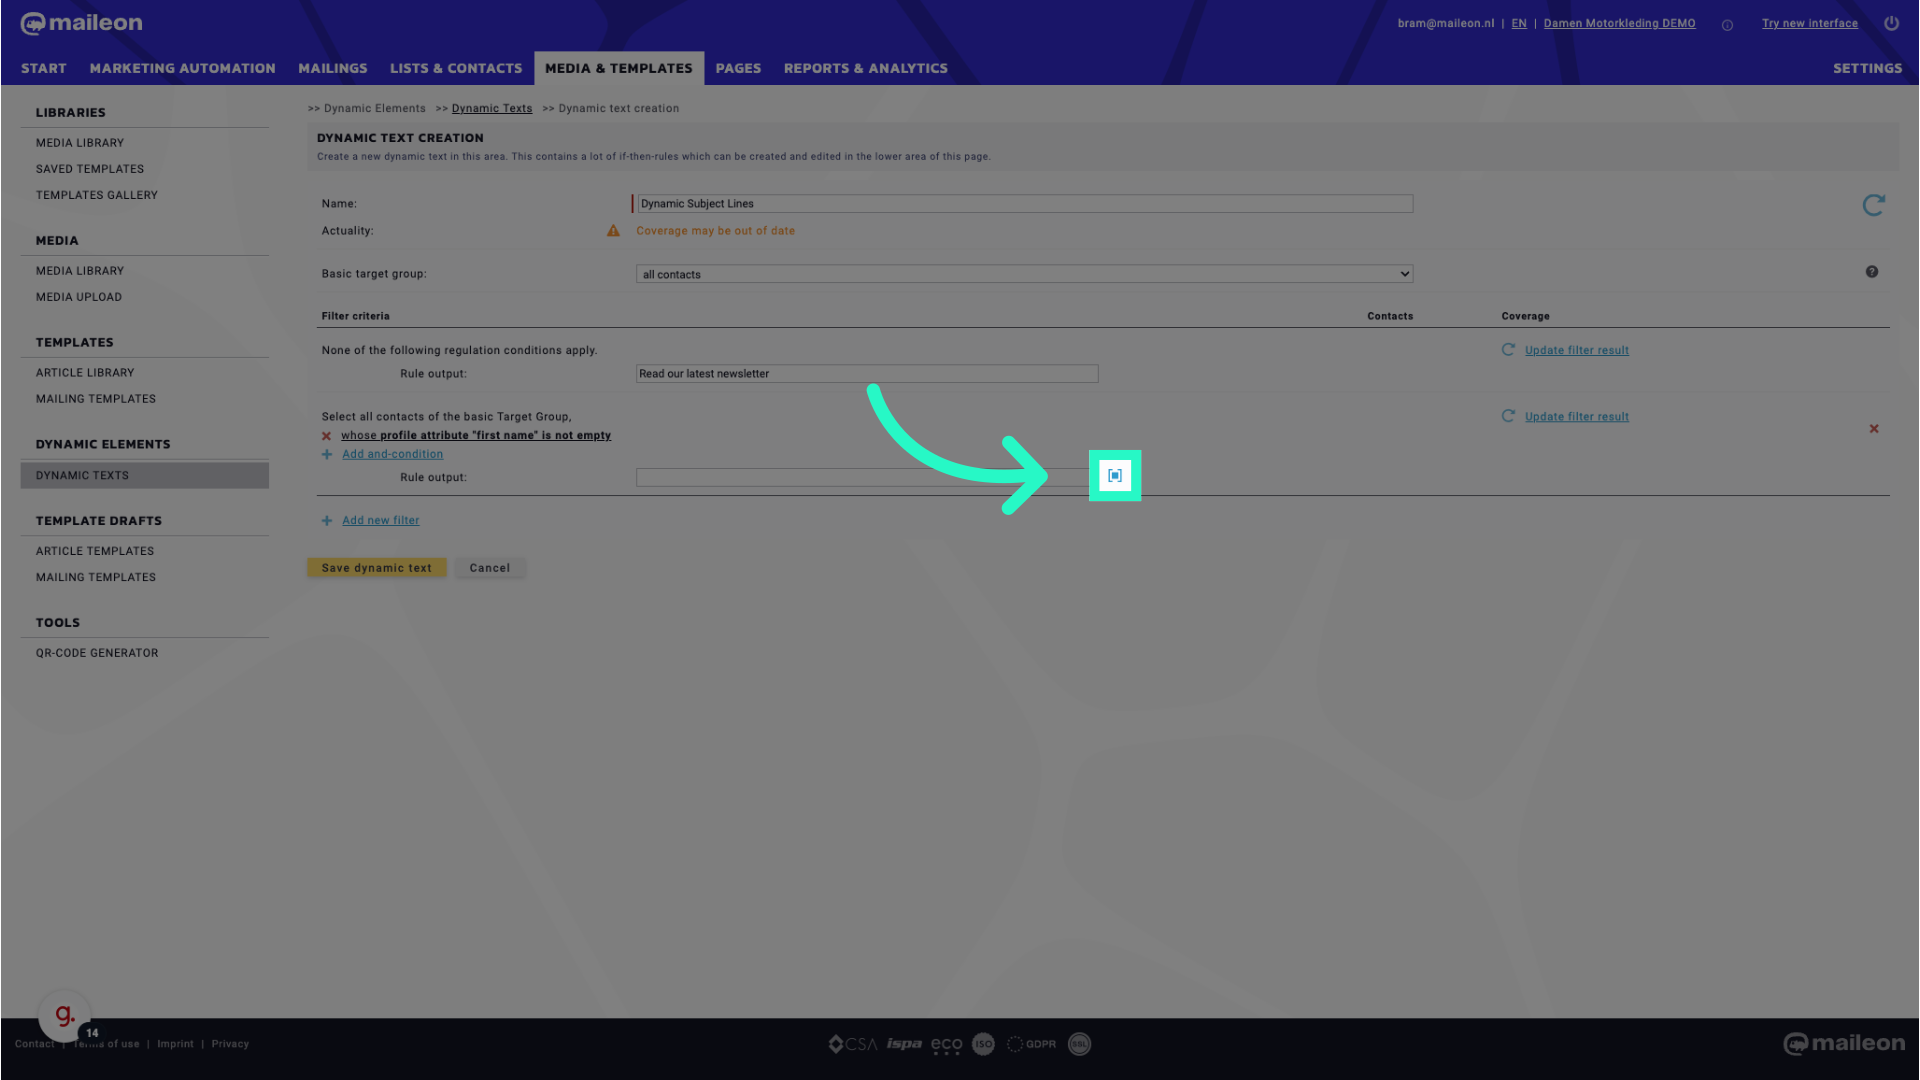
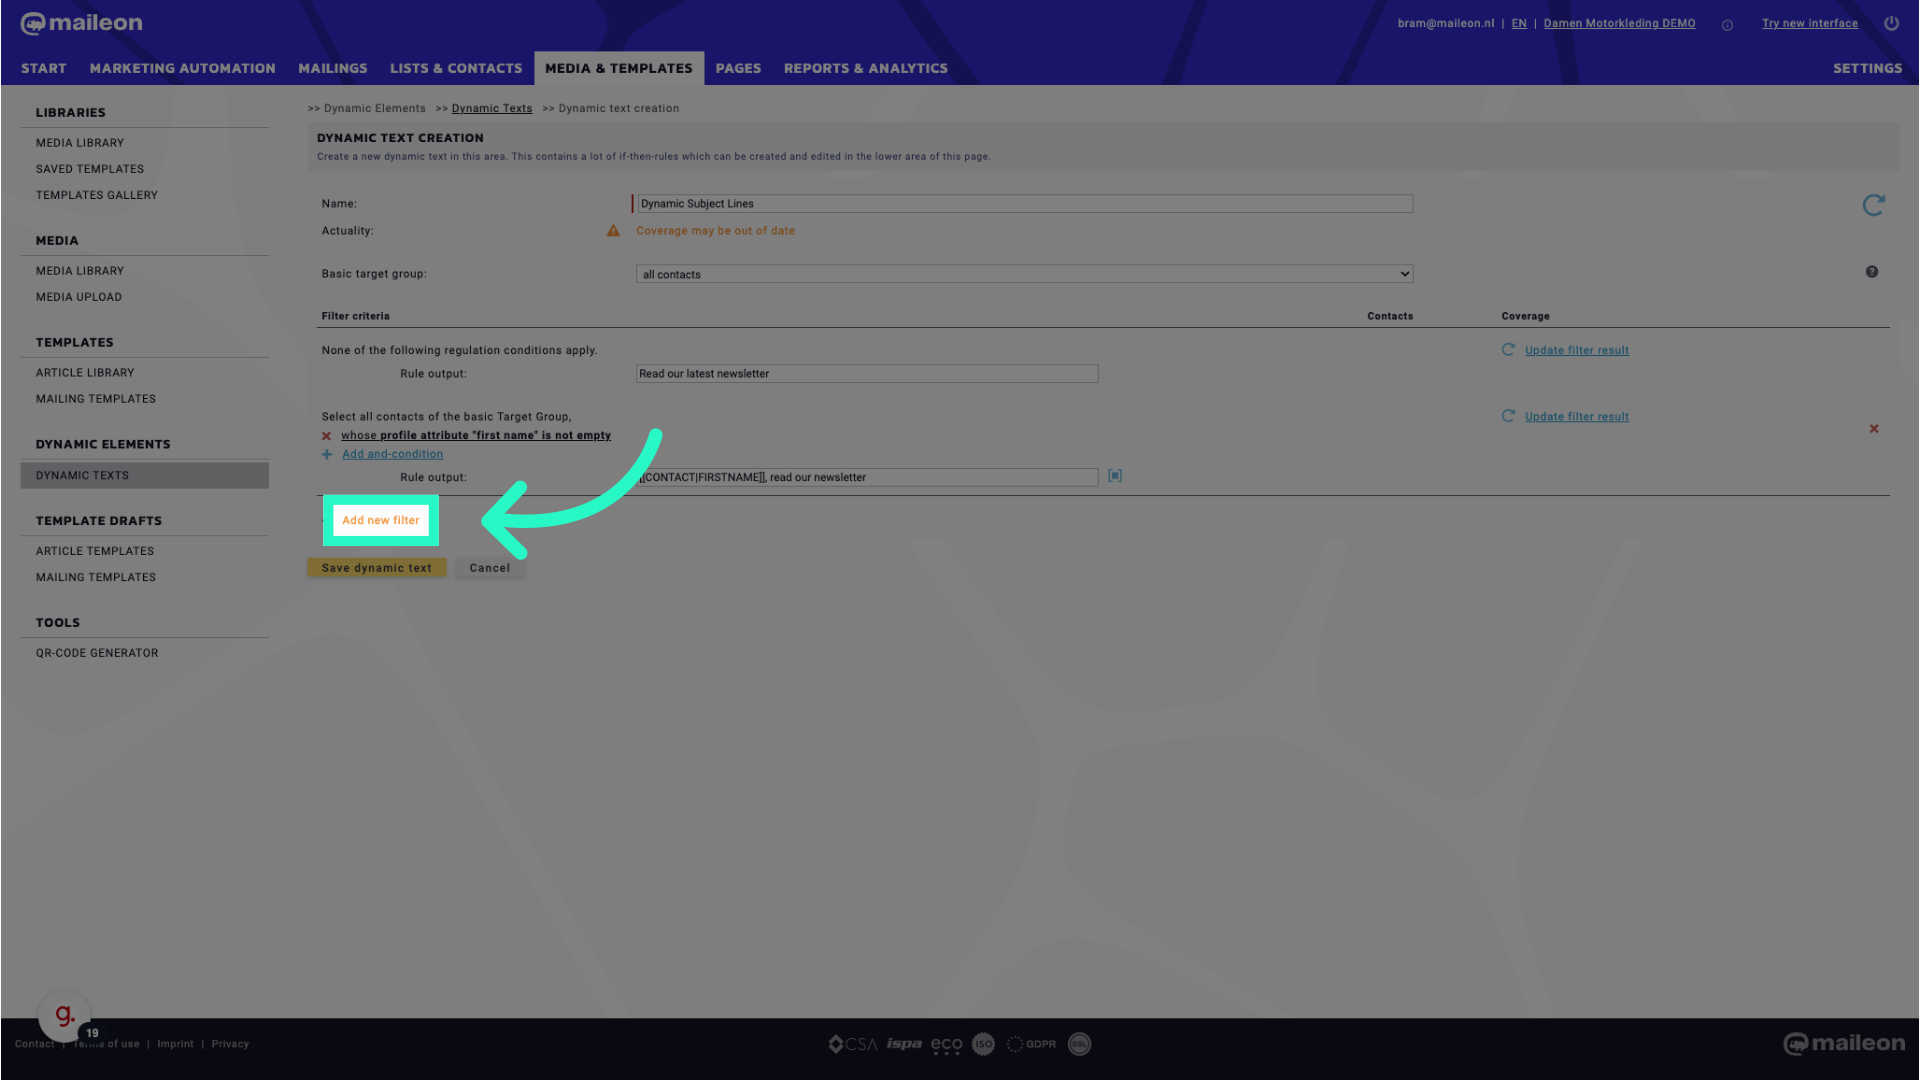
6. Click "Add new filter"
Enhance personalisation by adding a new filter for dynamic text customization.
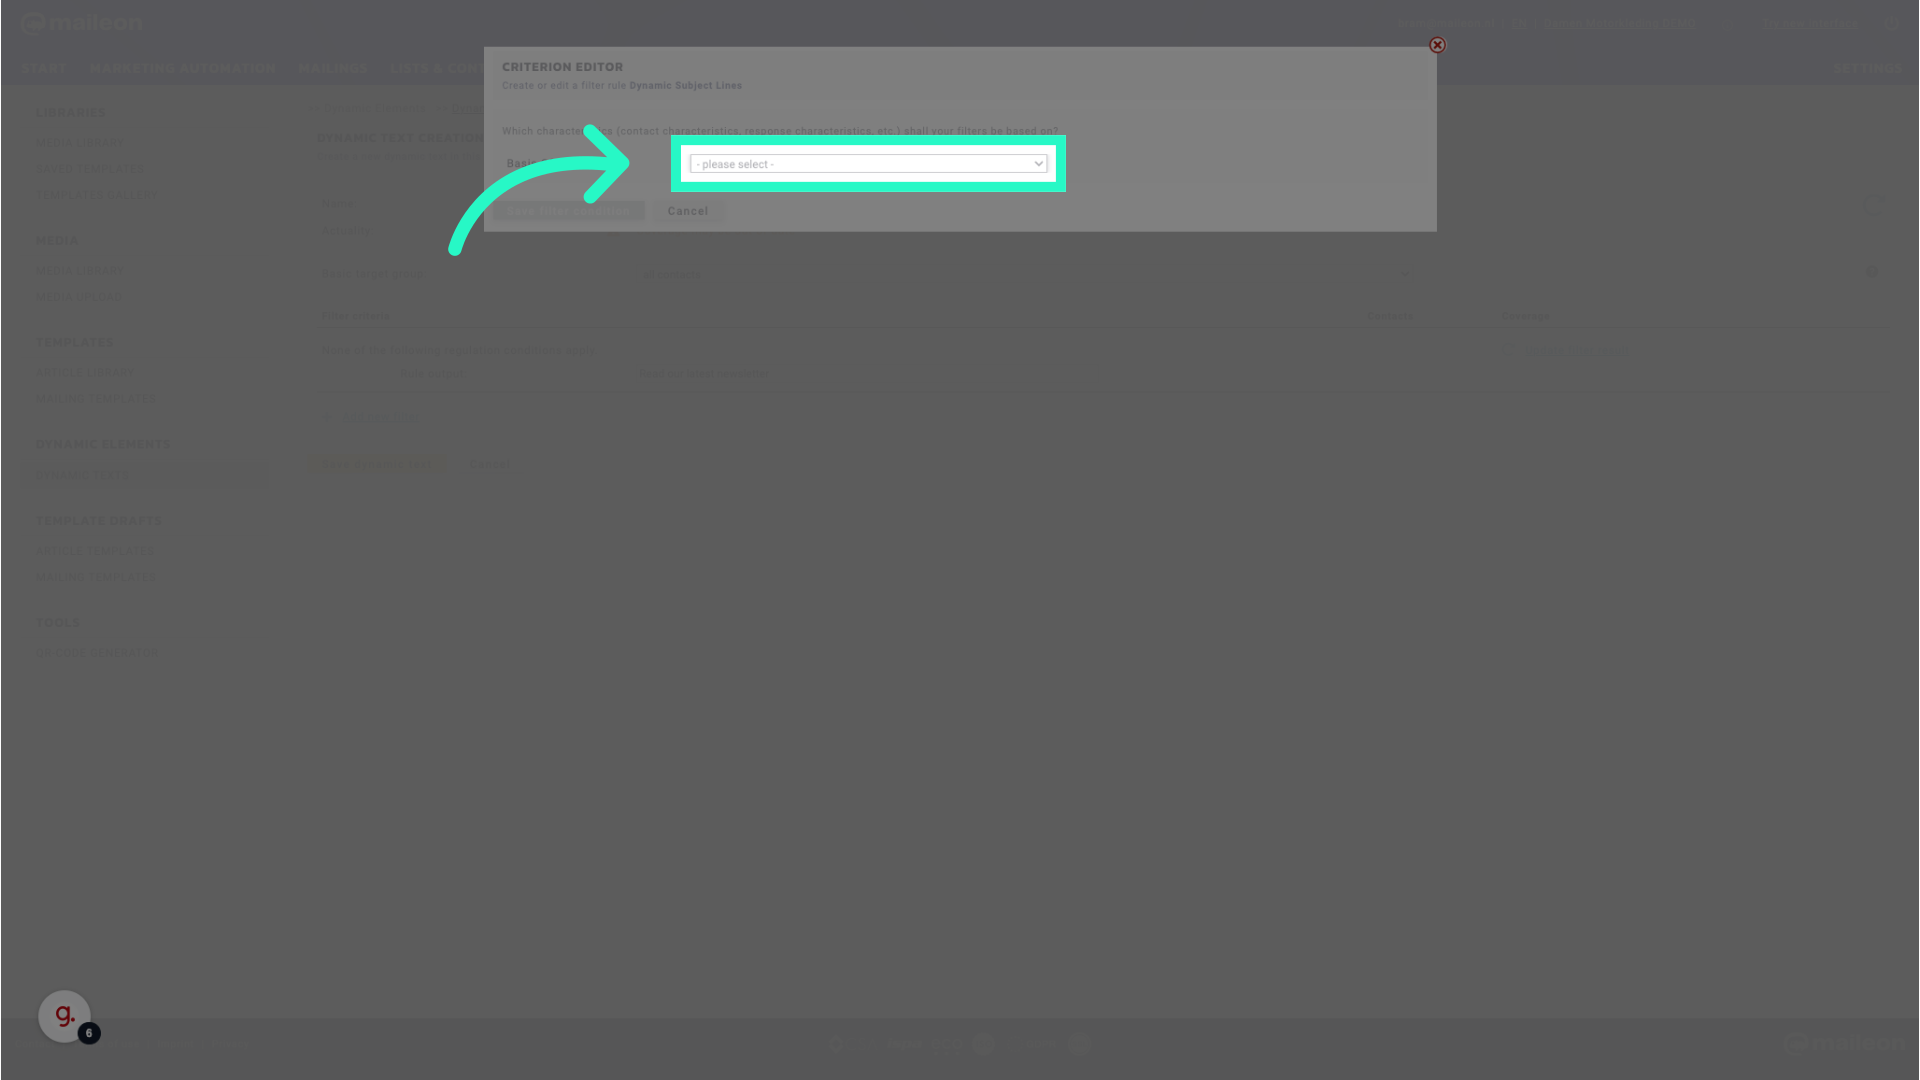
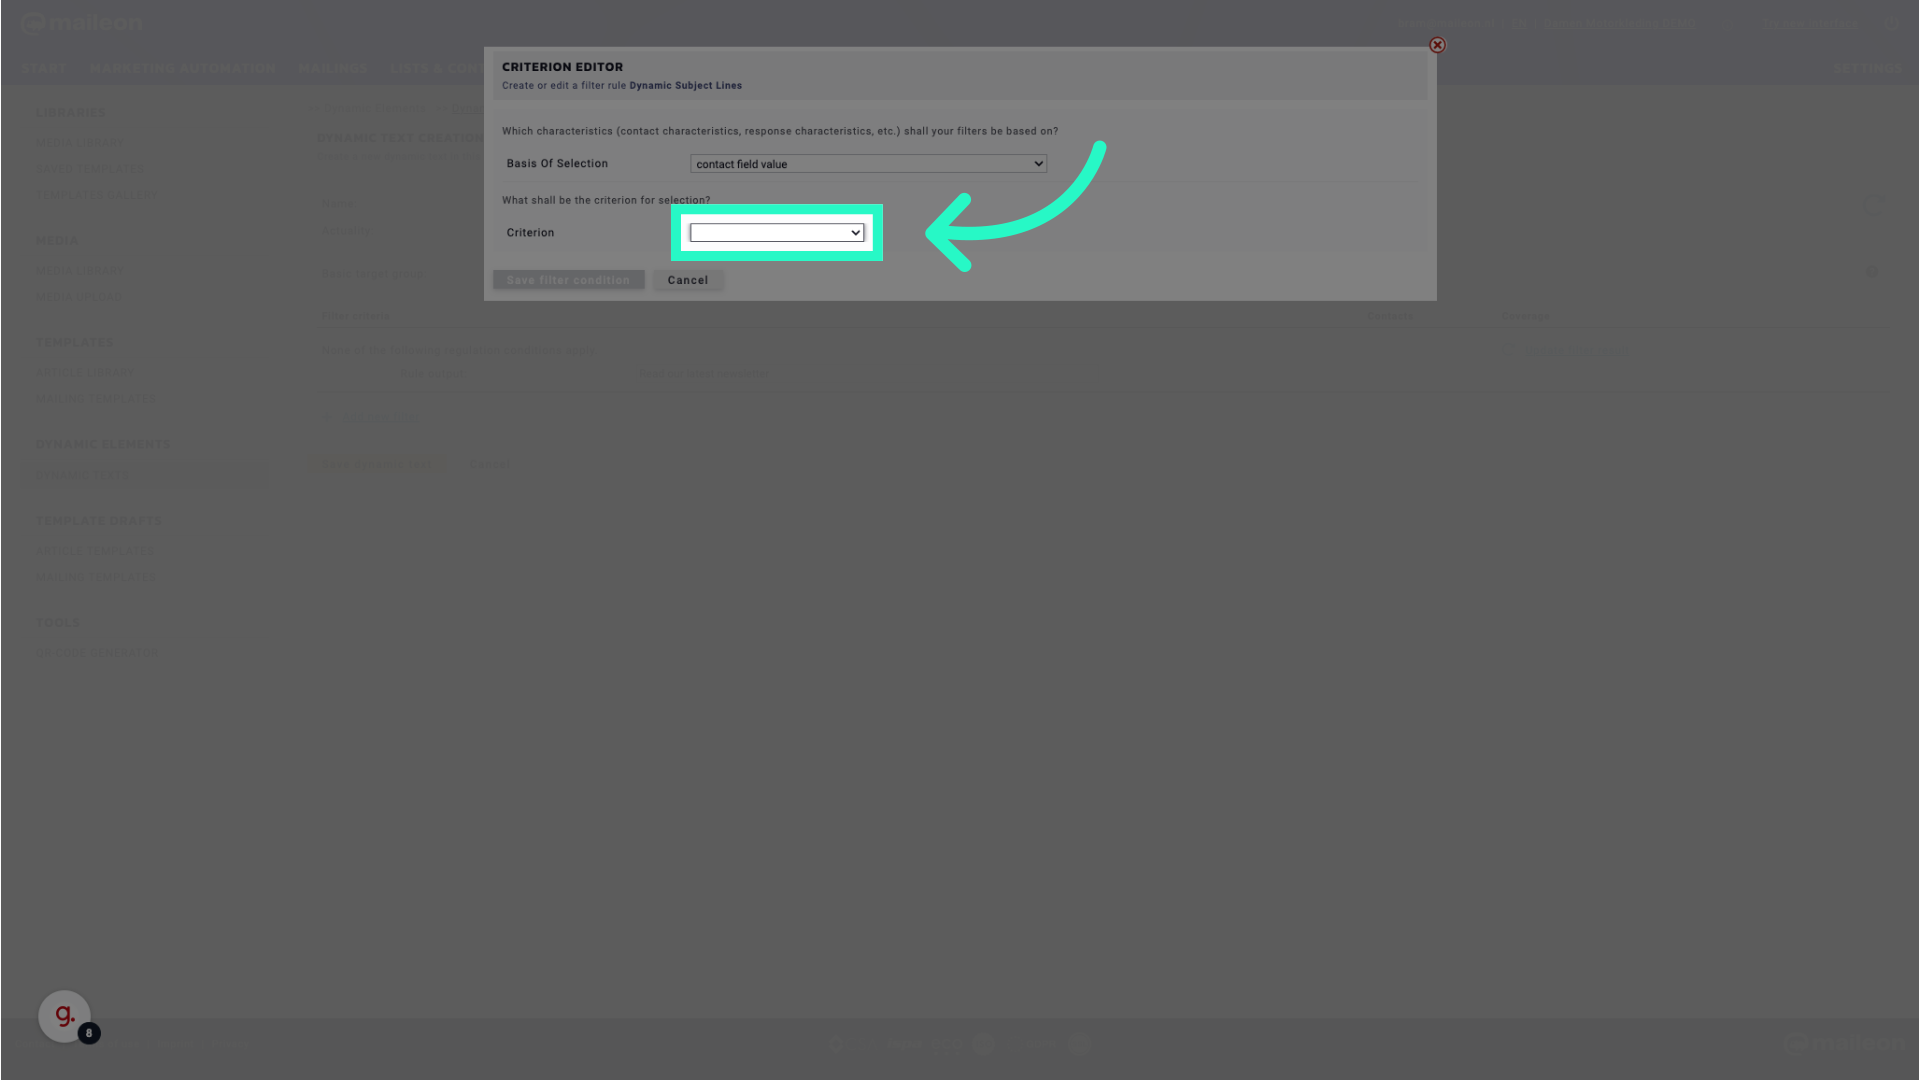
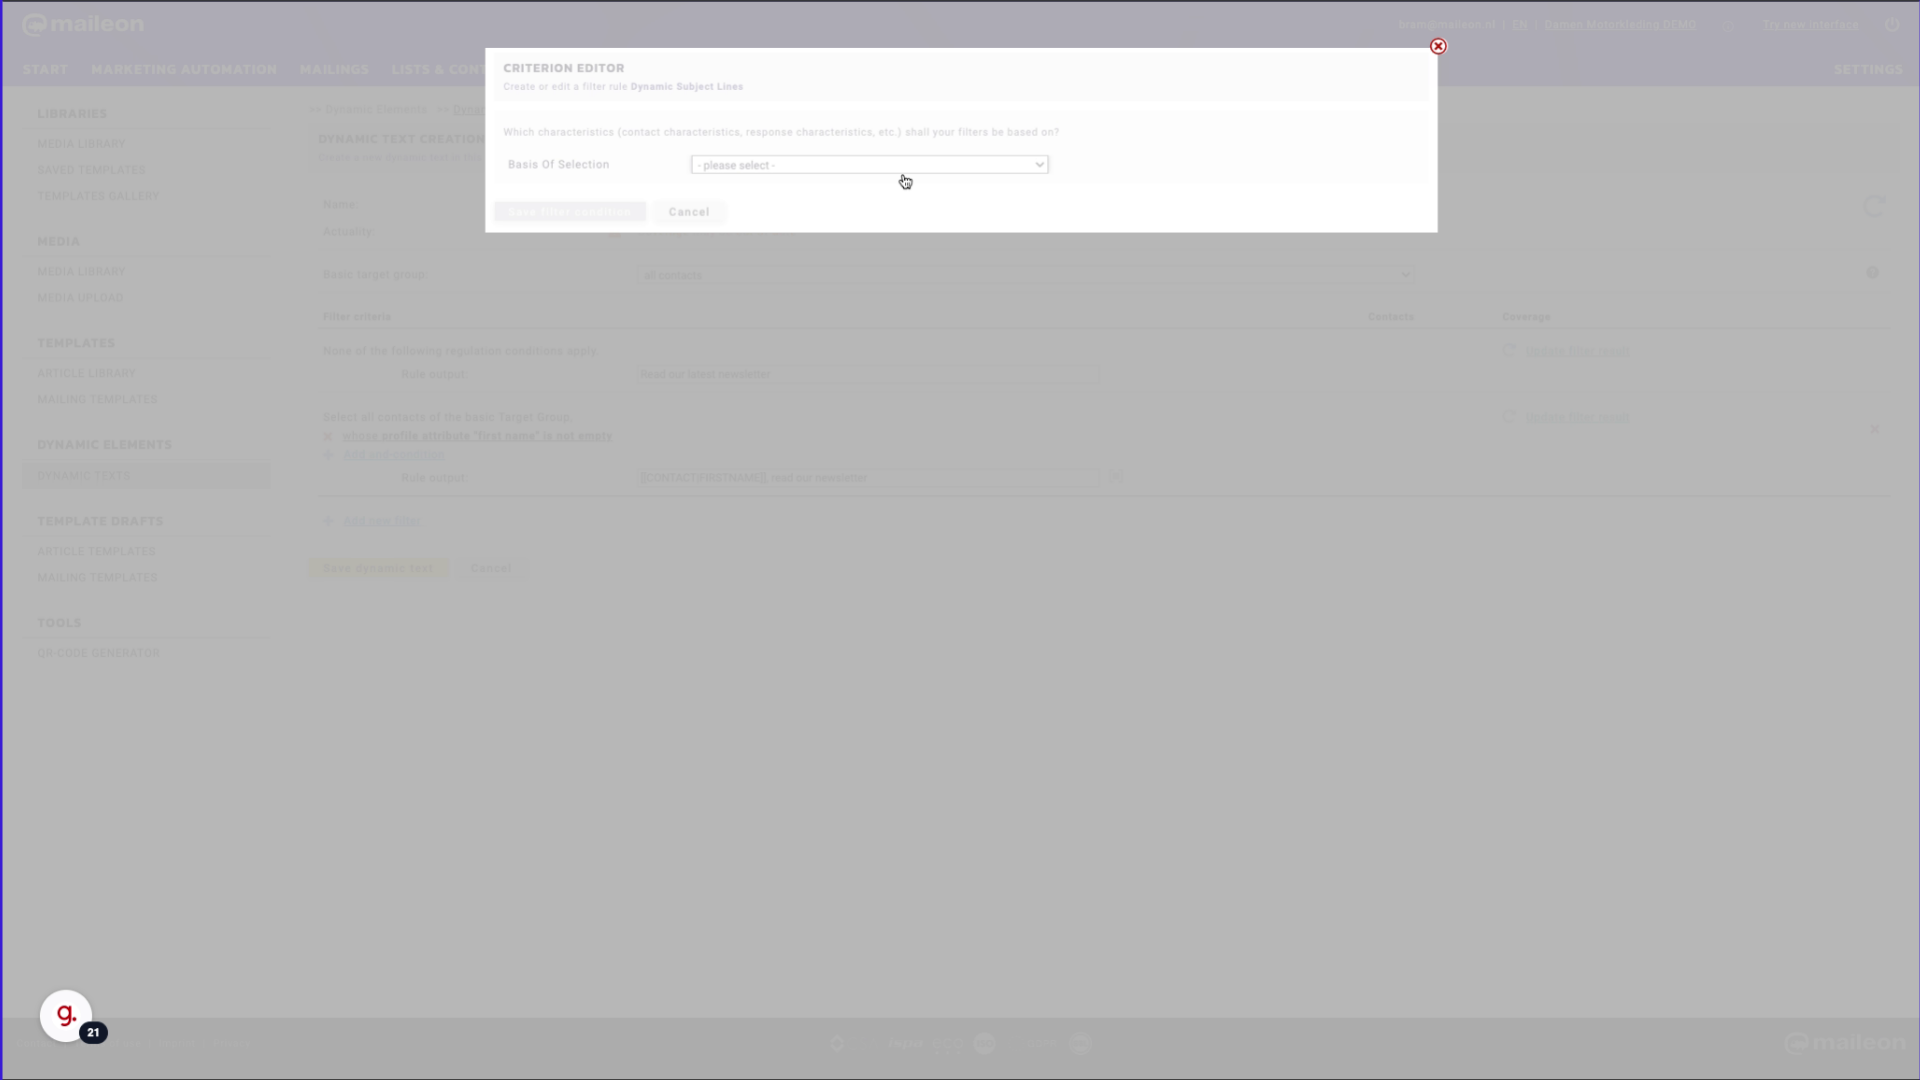
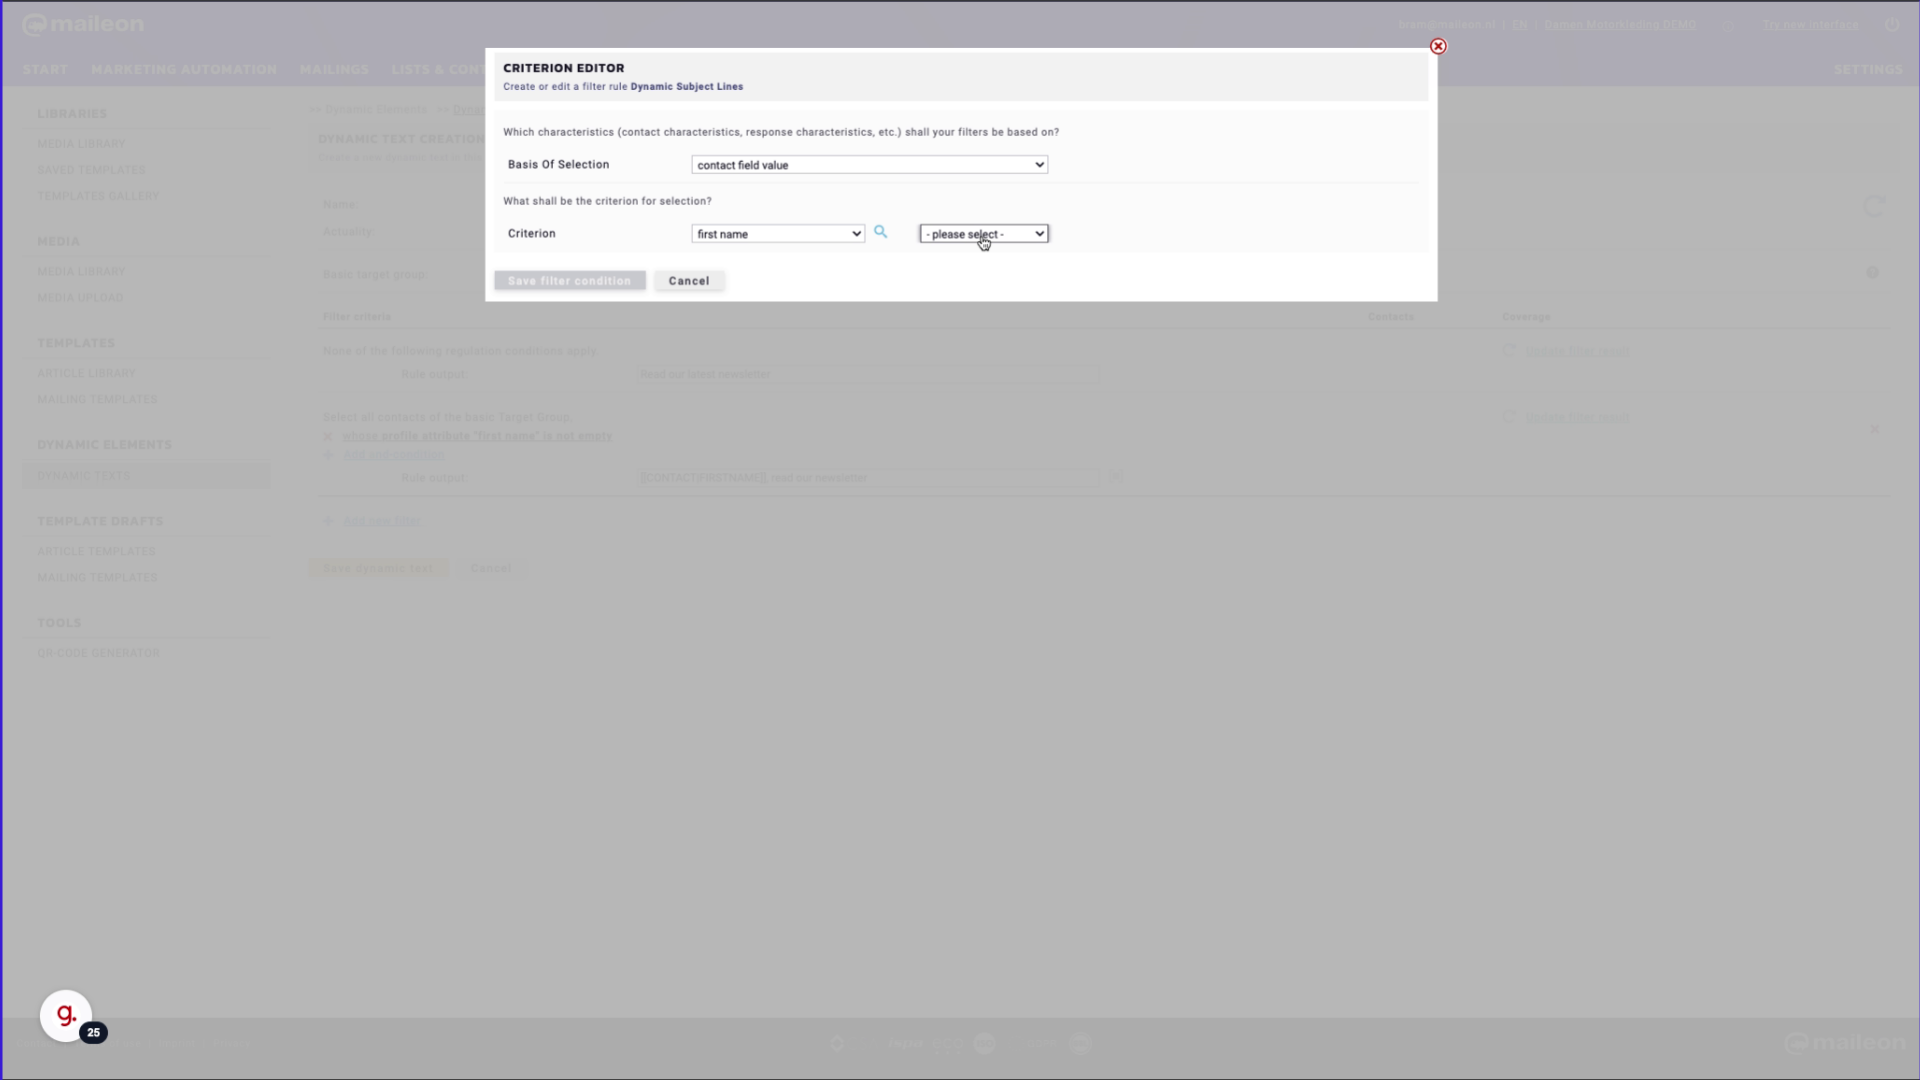
7. Click "- please select - contact field value" and select first name (or any other field that you want to use)
Select the appropriate contact field value or geographic reference for customisation.
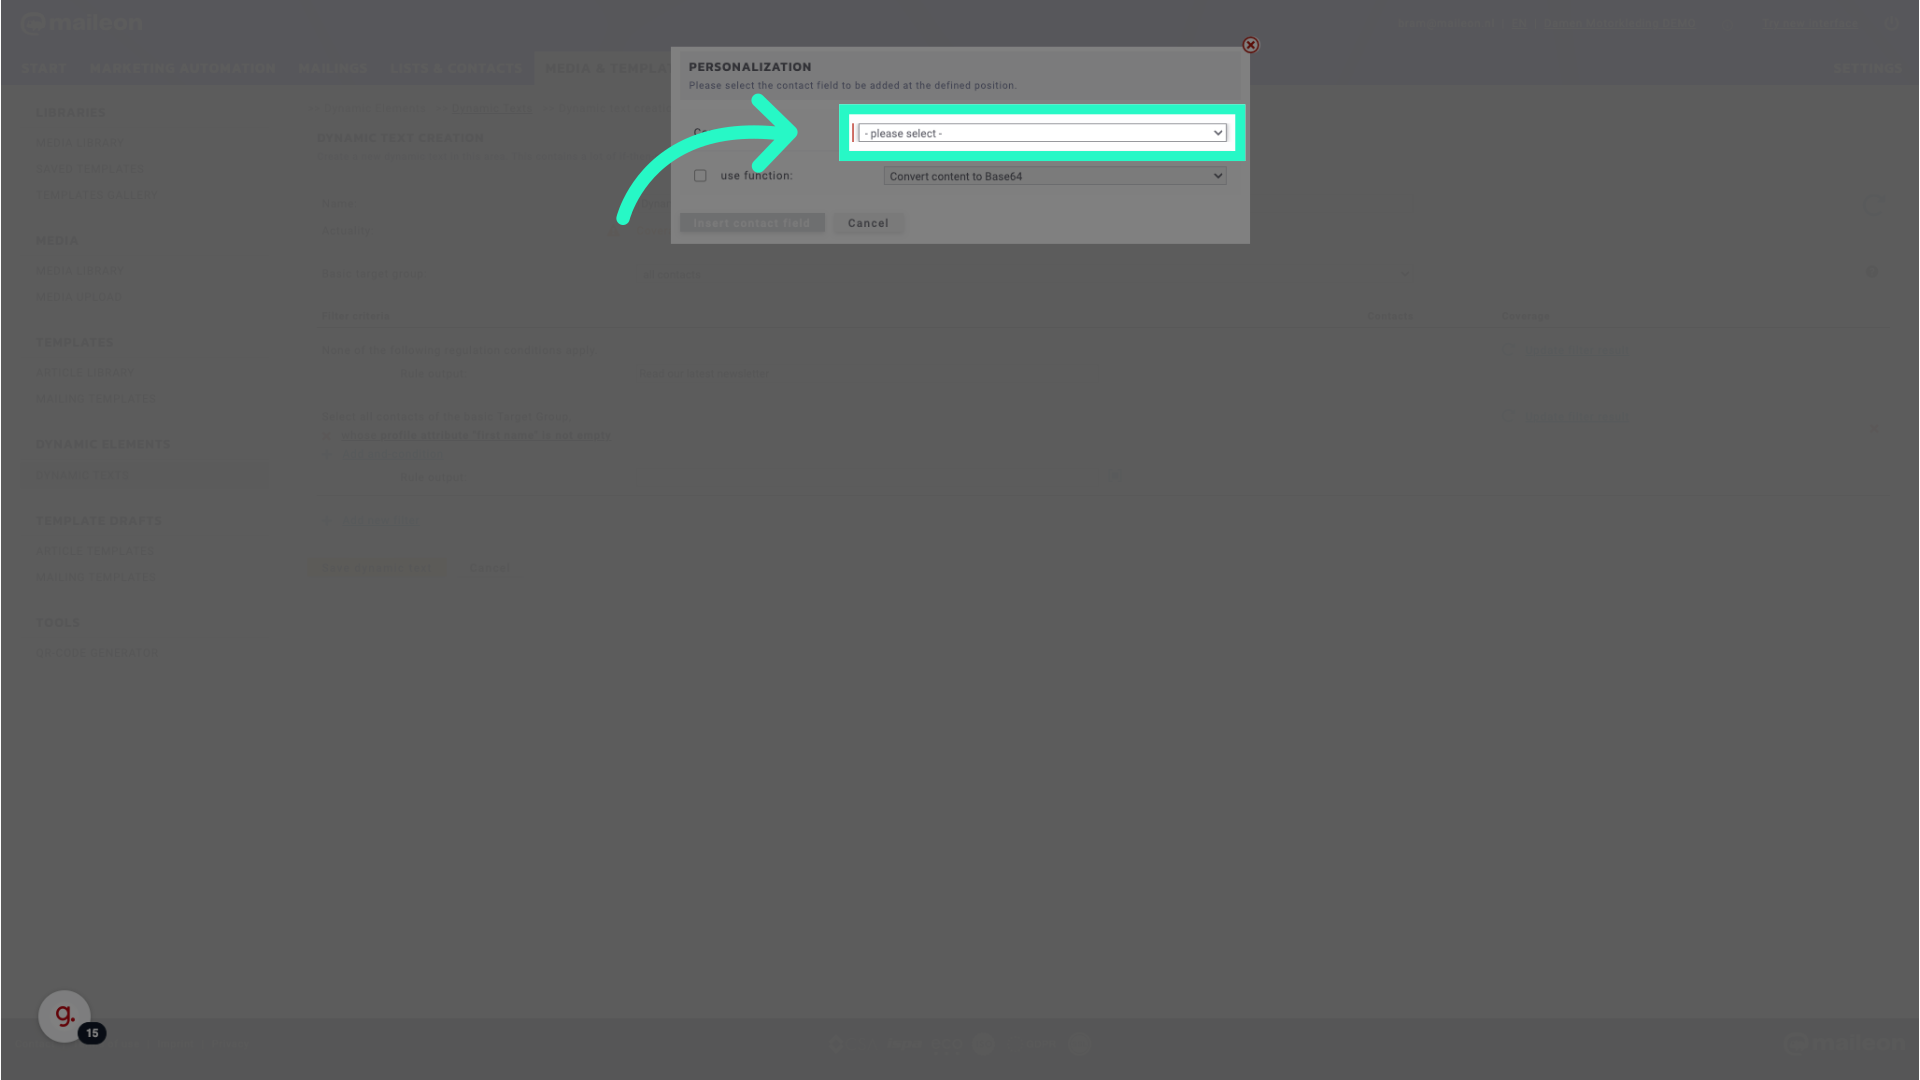
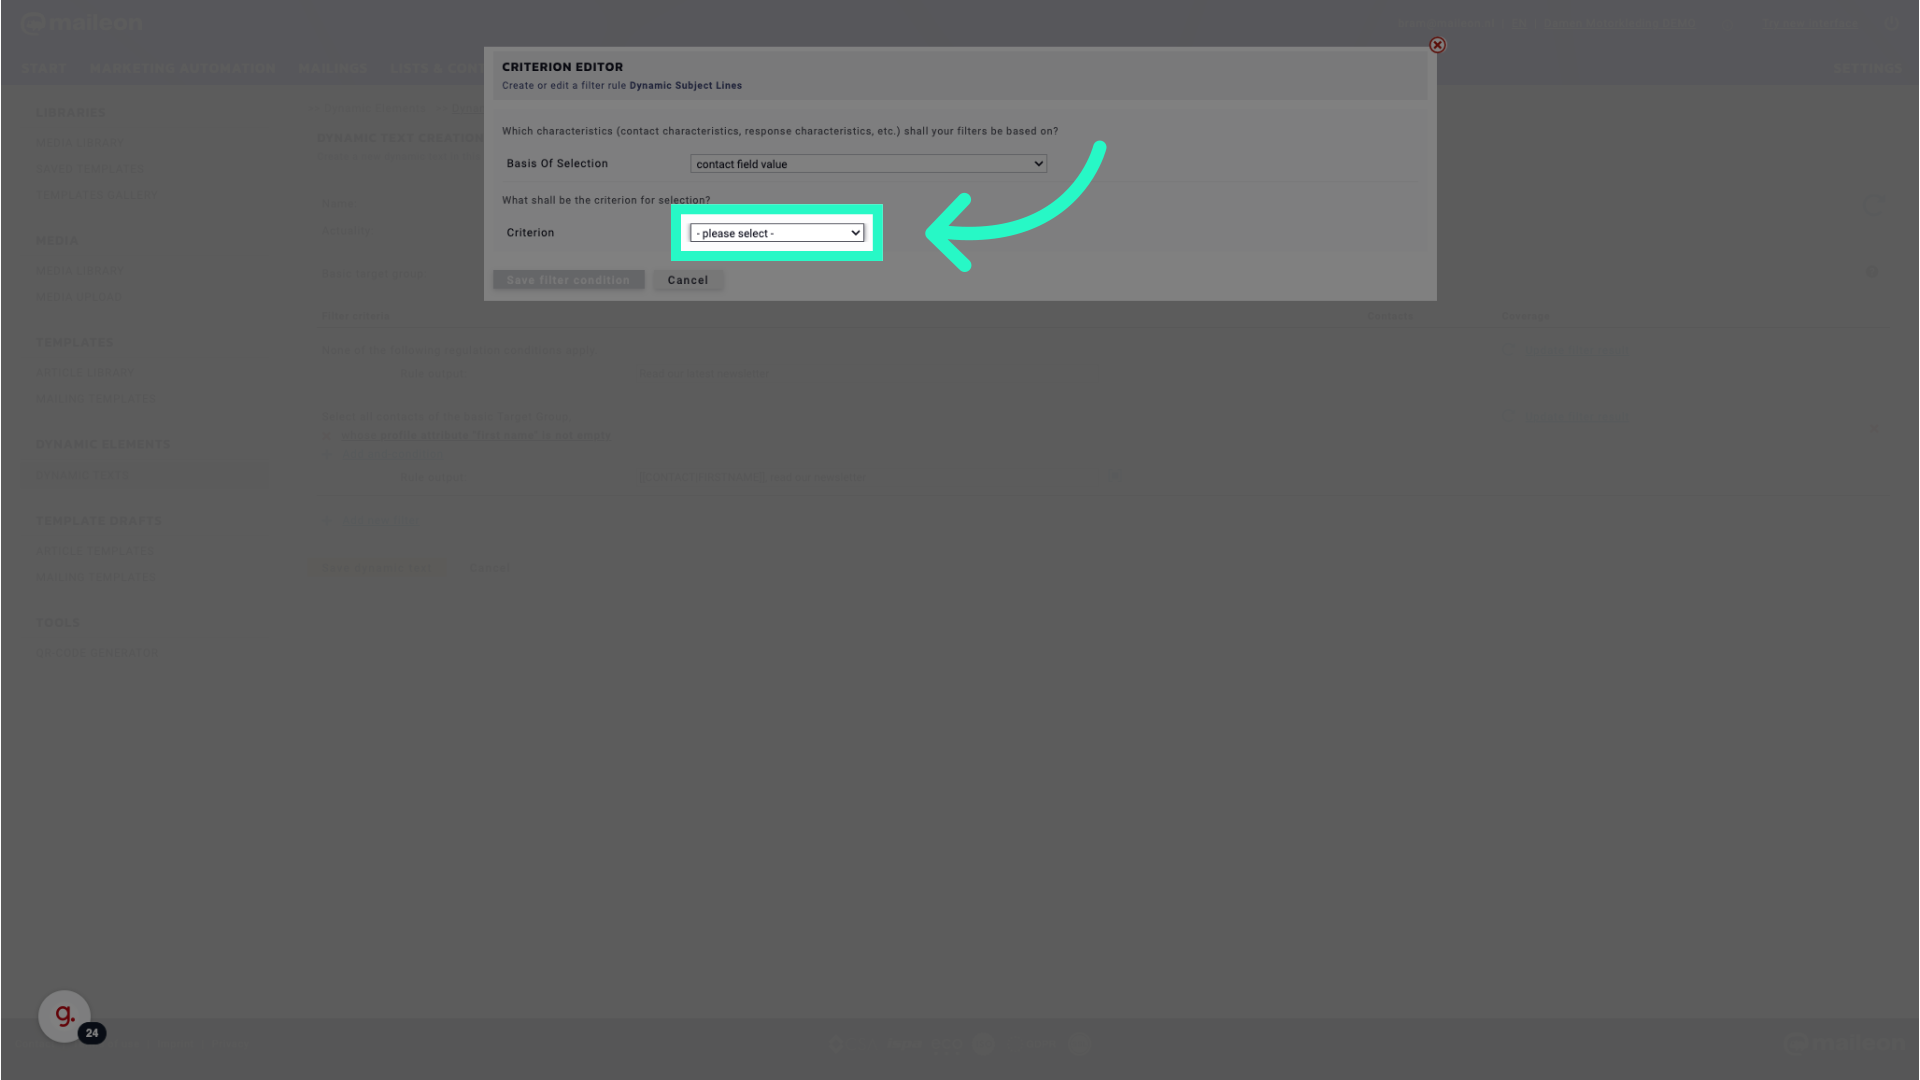
8. Fill "- please select - contact field value geographic reference"
Fill in the text box with "- please select - contact field value geographic reference"
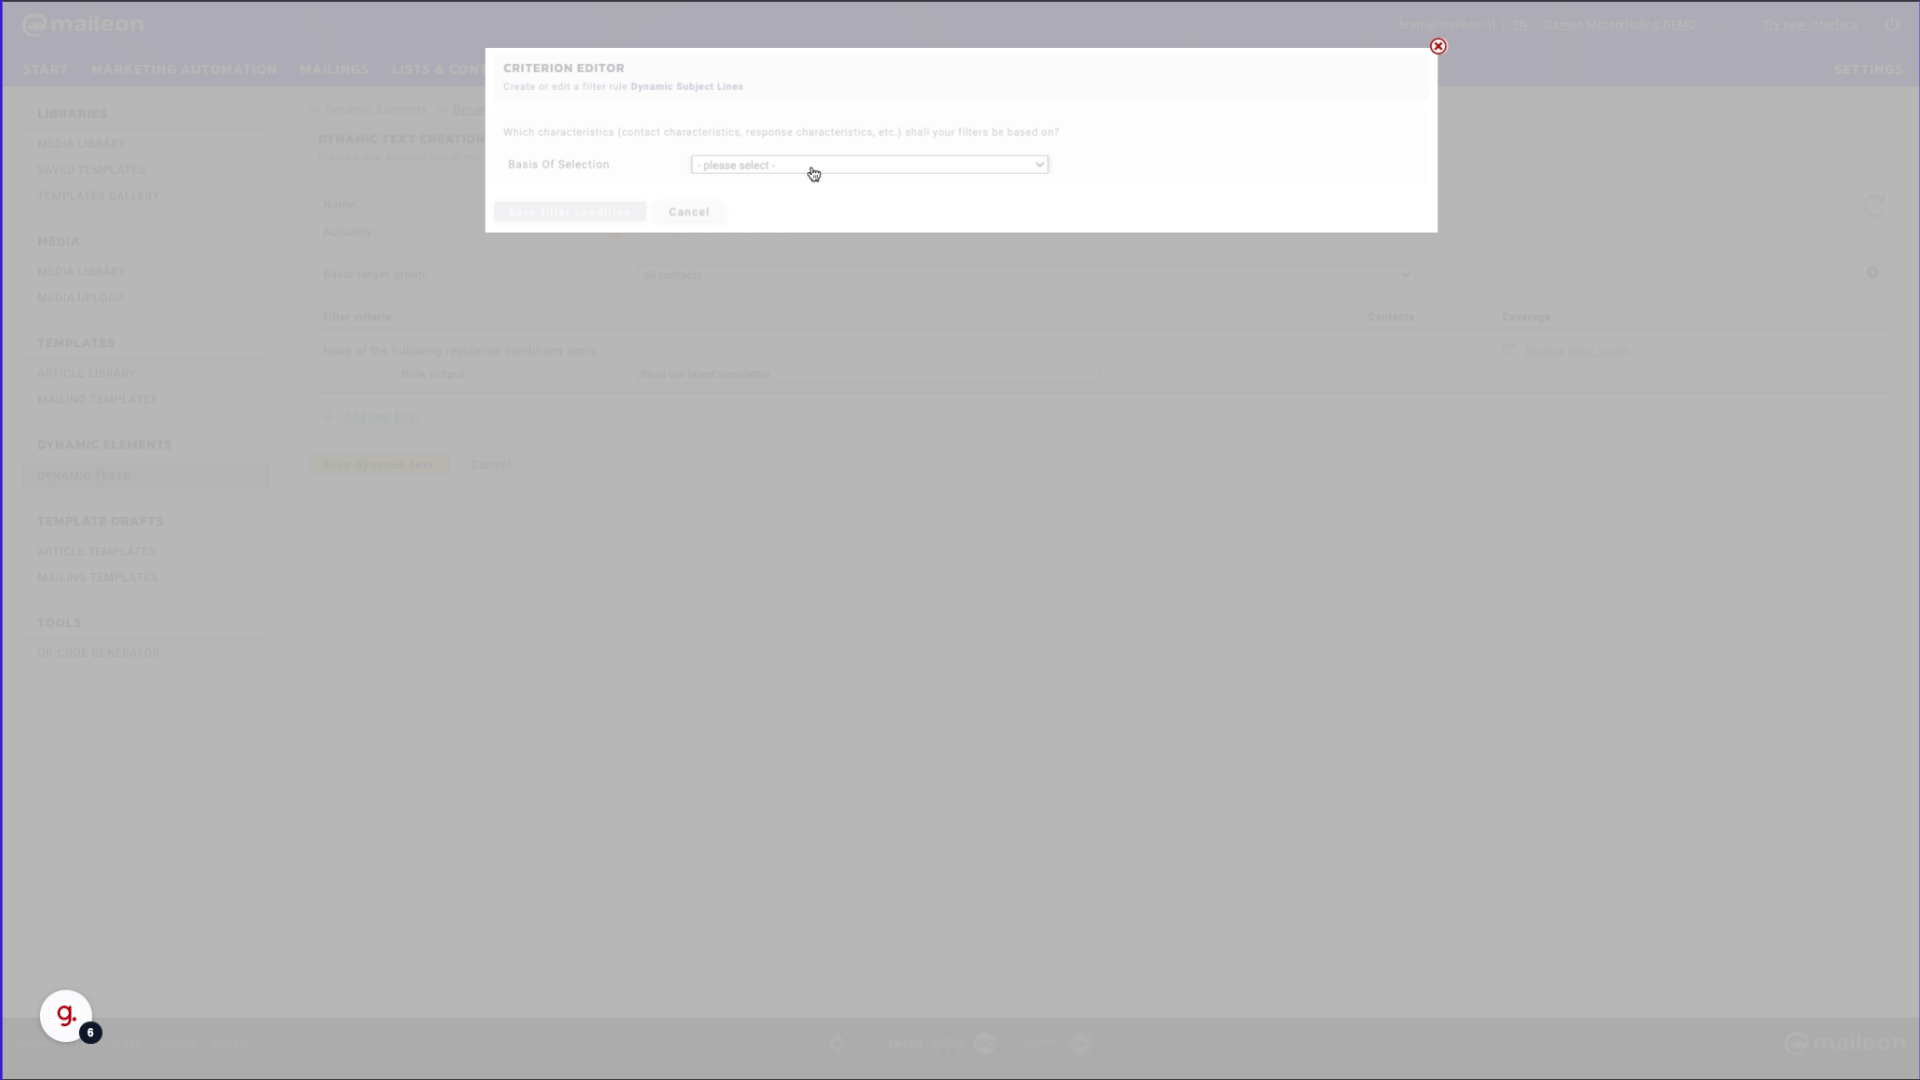
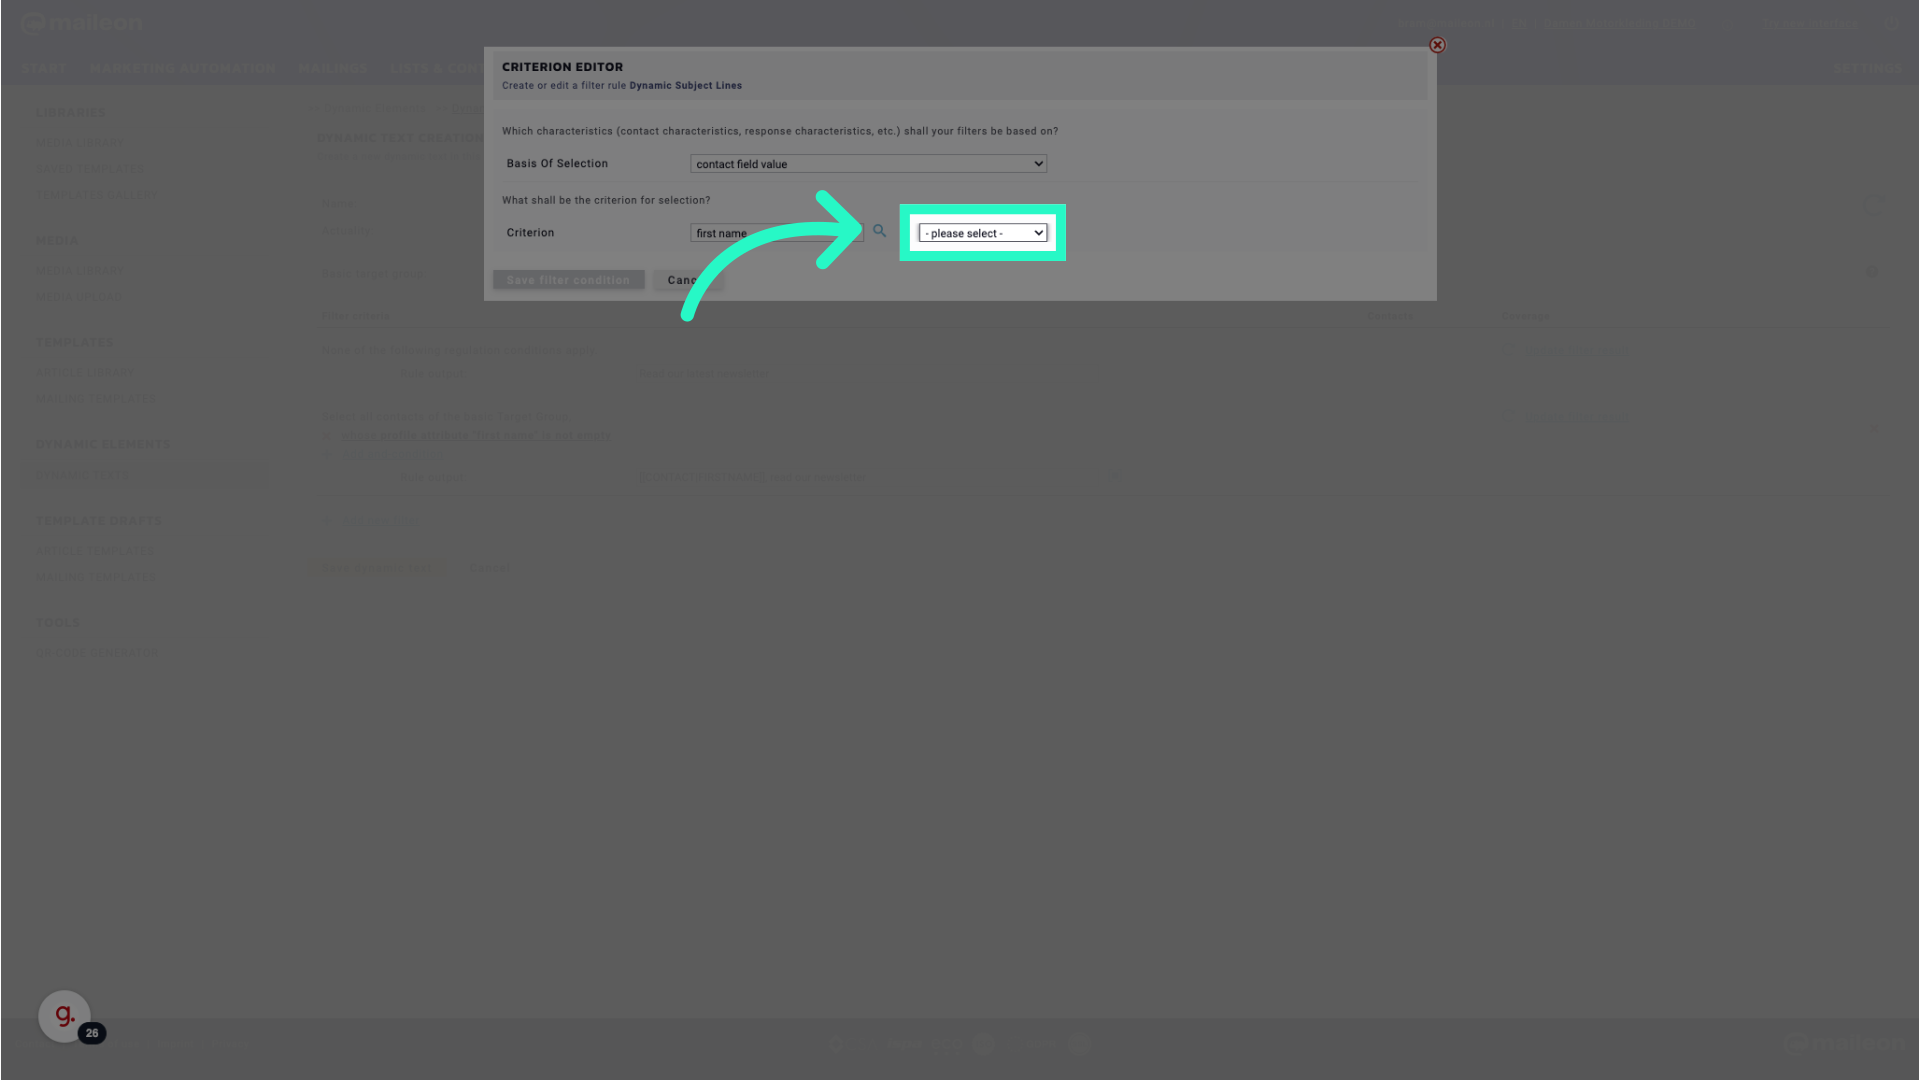
9. Click here
Navigate to the desired section by clicking here.
10. Fill "- please select - Abo veilig address Afdeling Arbeid optimaal AUTOMATION_TIXBUYERS Award Beeldmanagement BucklesId Chair preference Chars_test city ..."
Enter the desired text.

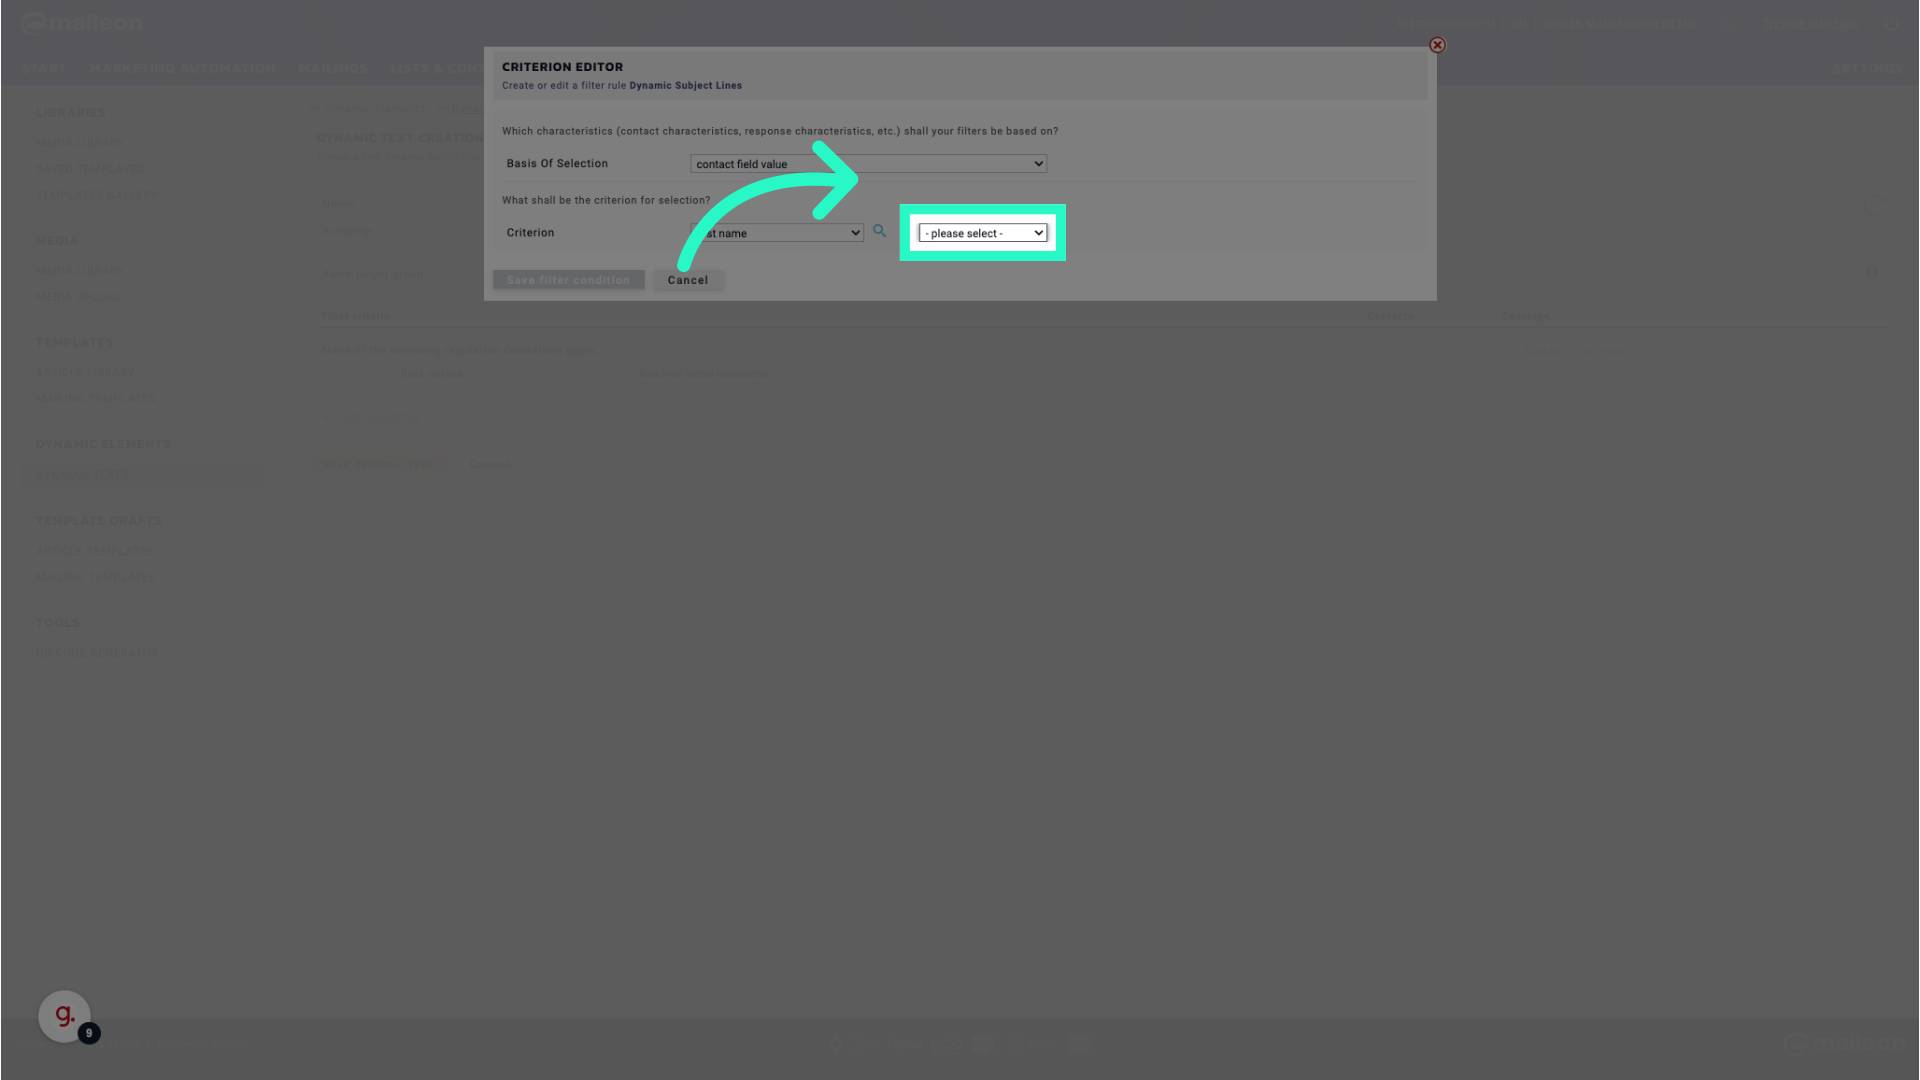
11. Select the criterion you want to use. In this 'is not empty' to be able to personalise the title with a first name.
Choose the desired filter condition for dynamic text personalisation.
12. Fill "- please select -contains does not contain ends with is empty is equal to is not empty is not equal to starts with"
Type "- please select -contains does not contain ends with is empty is equal to is not empty is not equal to starts with" in the given field

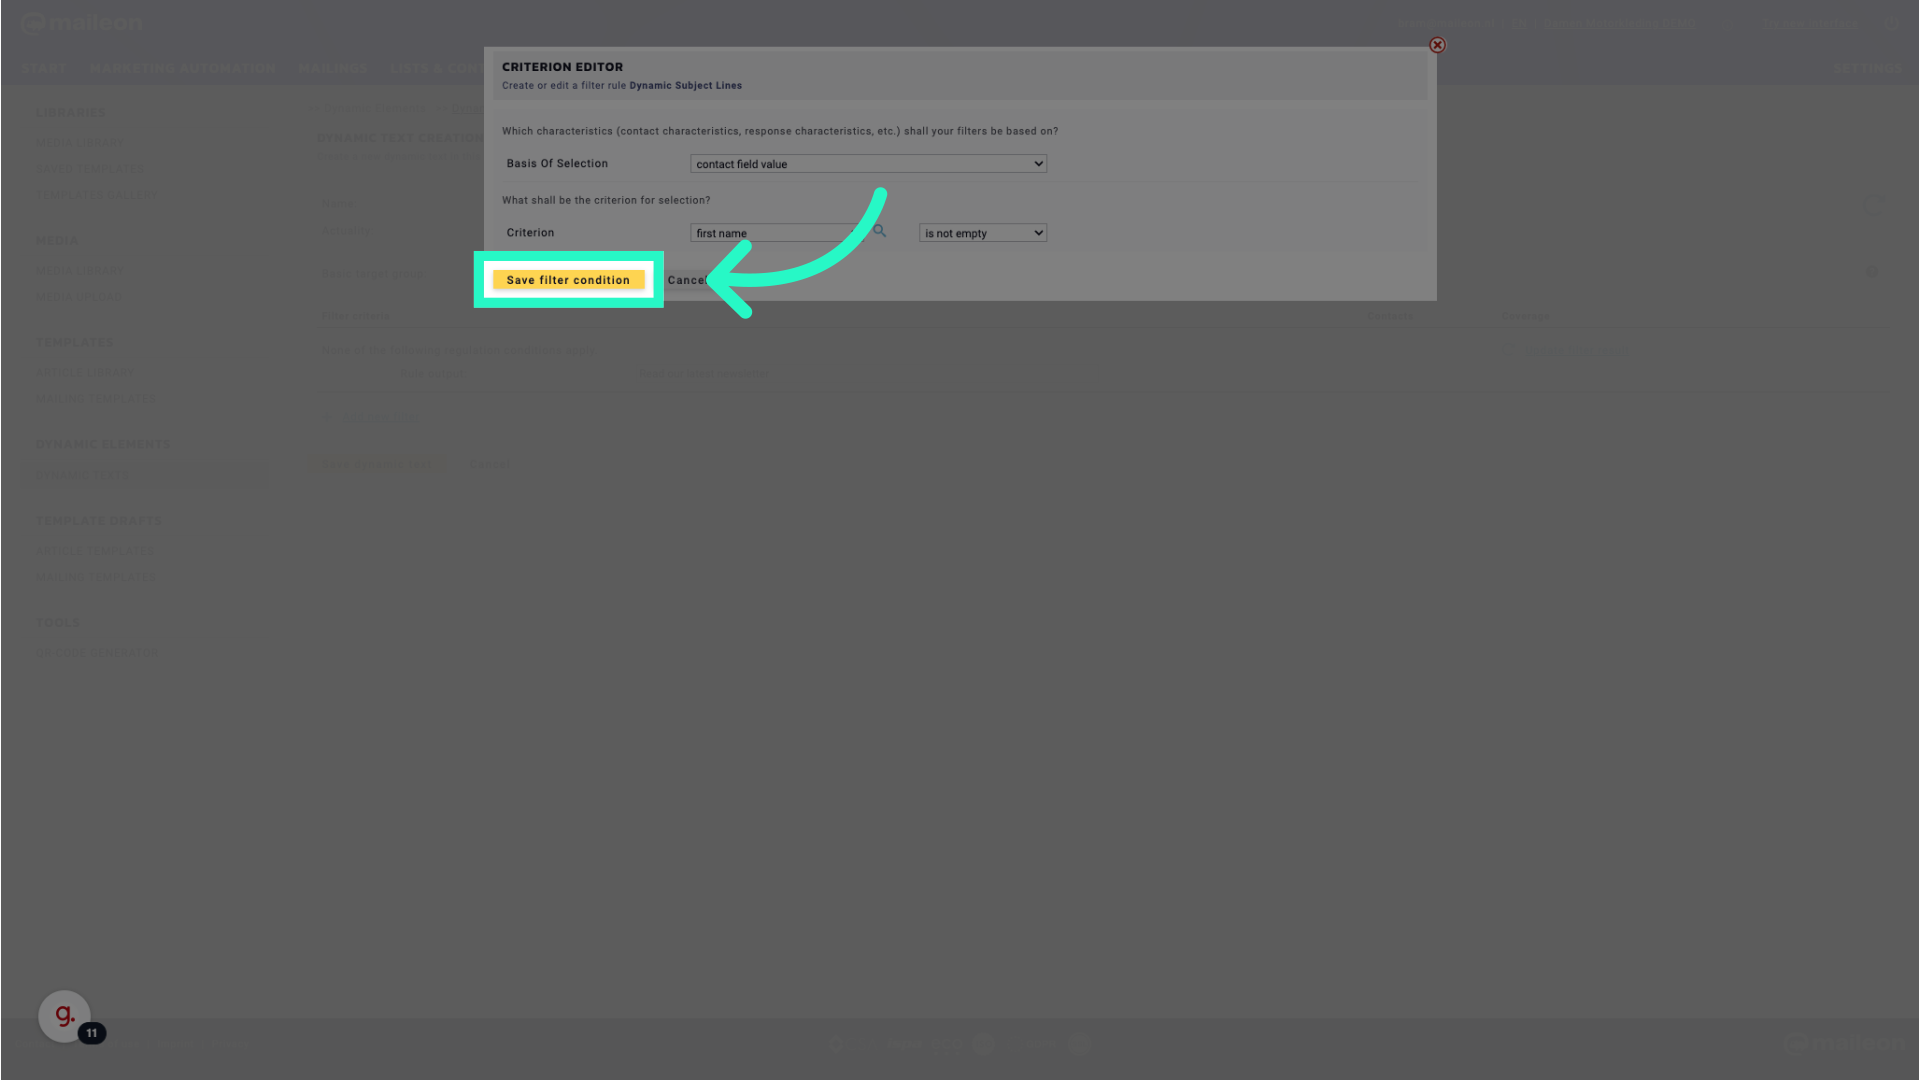
13. Click "Save filter condition"
Save the applied filter condition for dynamic text customisation.
14. Click here
Navigate to the desired section by clicking here.
15. Click here
Navigate to the desired section by clicking here.
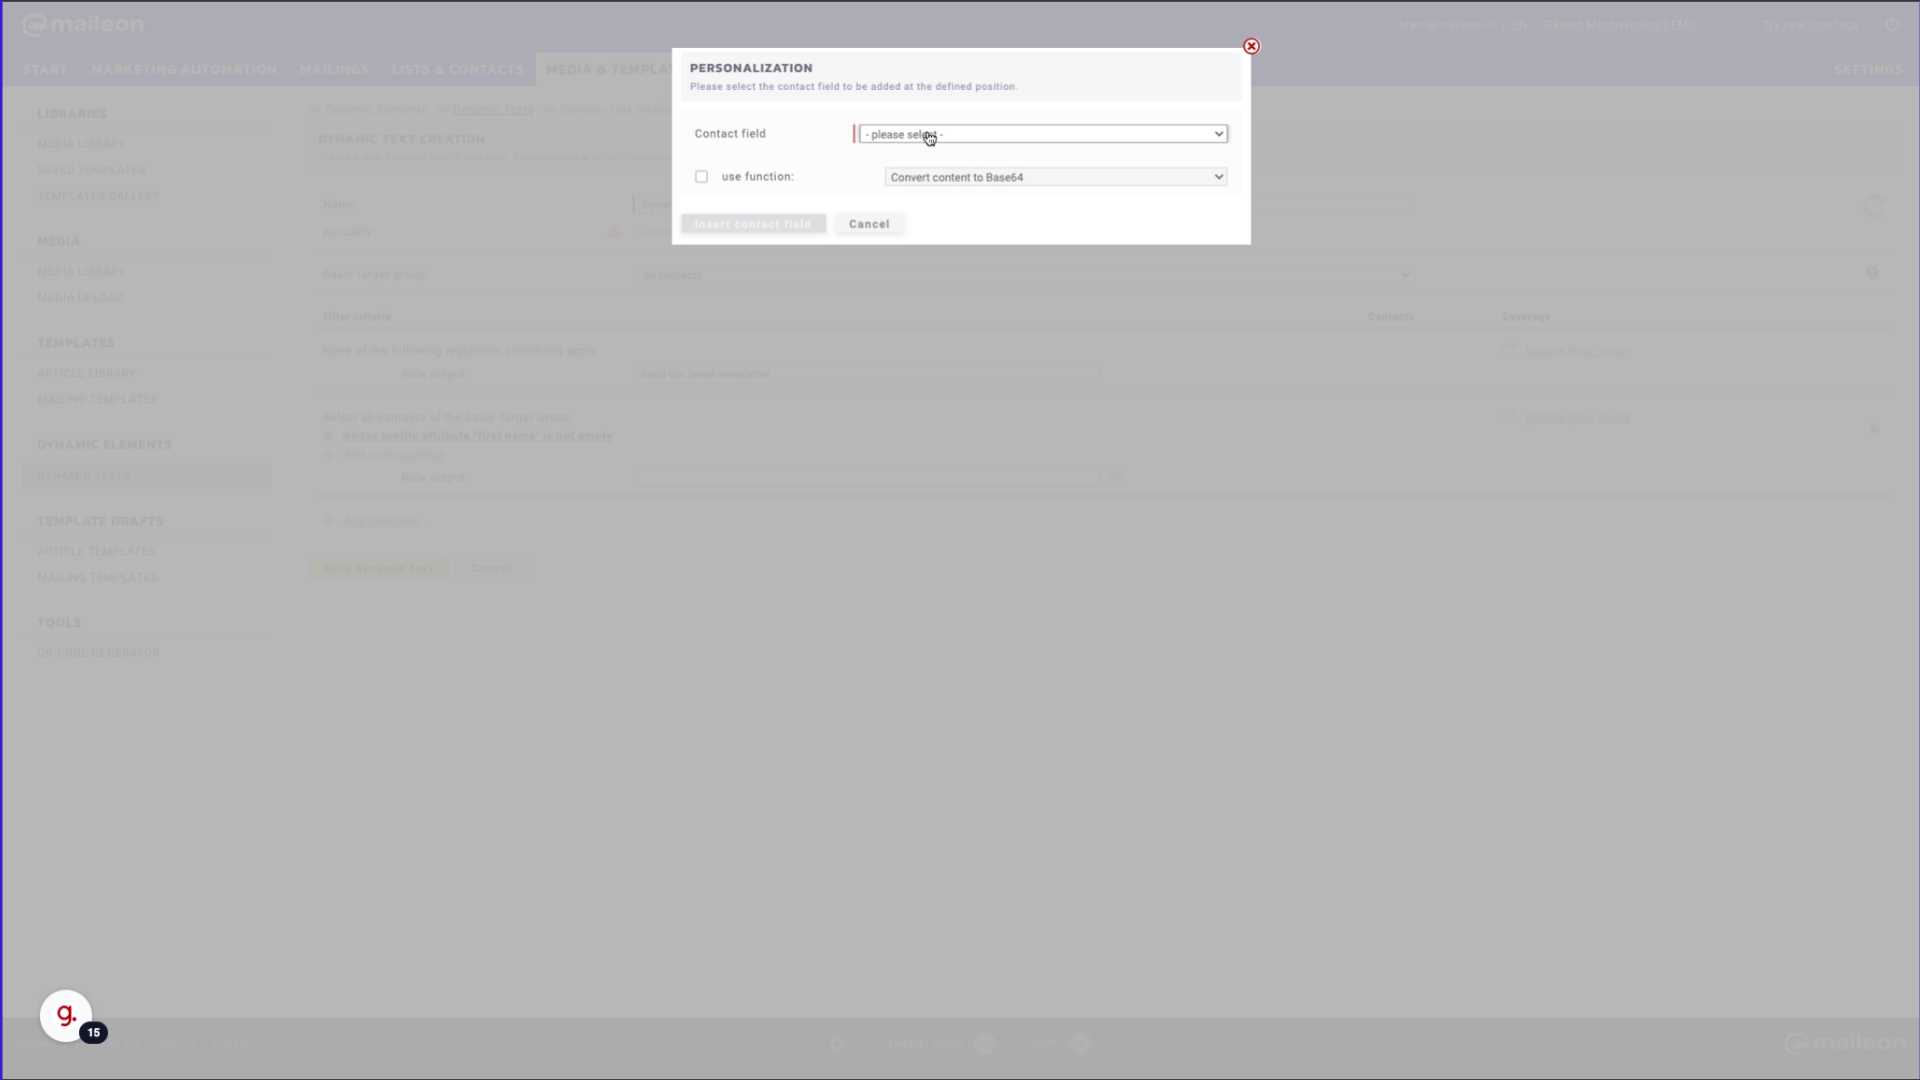
16. Click "- please select - Abo veilig Account language Address Afdeling Arbeid optimaal AUTOMATION_TIXBUYERS Award Beeldmanagement BucklesId Chair preference Chars_test City Contactfield for..."
Select the appropriate category for dynamic text customisation.
17. Fill "- please select - Abo veilig Account language Address Afdeling Arbeid optimaal AUTOMATION_TIXBUYERS Award Beeldmanagement BucklesId Chair preference Chars_test City Contactfield for..."
Input "- please select - Abo veilig Account language Address Afdeling Arbeid optimaal AUTOMATION_TIXBUYERS Award Beeldmanagement BucklesId Chair preference Chars_test City Contactfield for..." in the available field
18. Click "Insert contact field"
Insert the desired contact field for personalising the dynamic text.
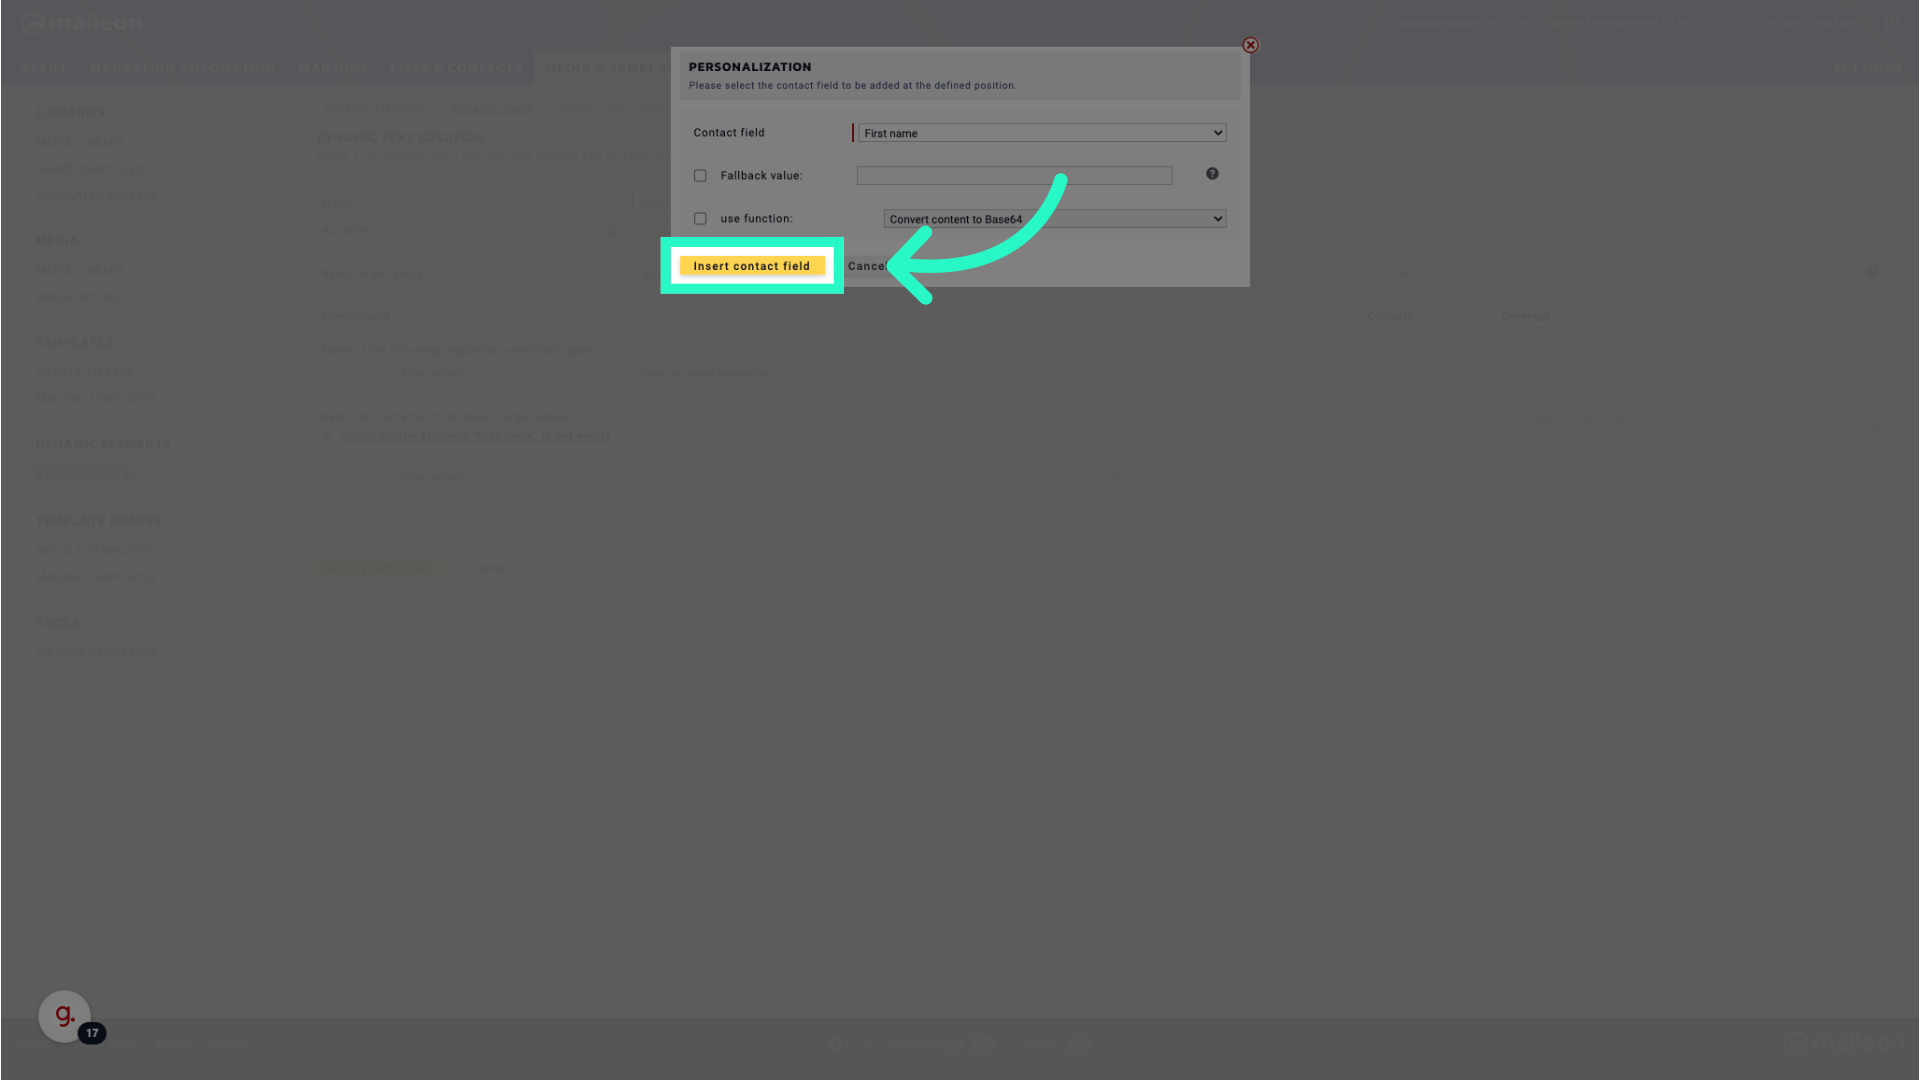
19. Click "[[CONTACT|FIRSTNAME]]"
Insert the contact's first name for personalised subject lines.
![Click '[[CONTACT|FIRSTNAME]]'](https://static.guidde.com/v0/qg%2F6MTOFk9gBzdtWUnL4KItRxGH6cv1%2F4UV7NarXxsC465UuKYV2SP%2F1Mfk6bC8P4peVzTf6Z5A6f_doc.png?alt=media&token=f8bfcf7a-128a-461f-8f65-d421a95ea3d1)
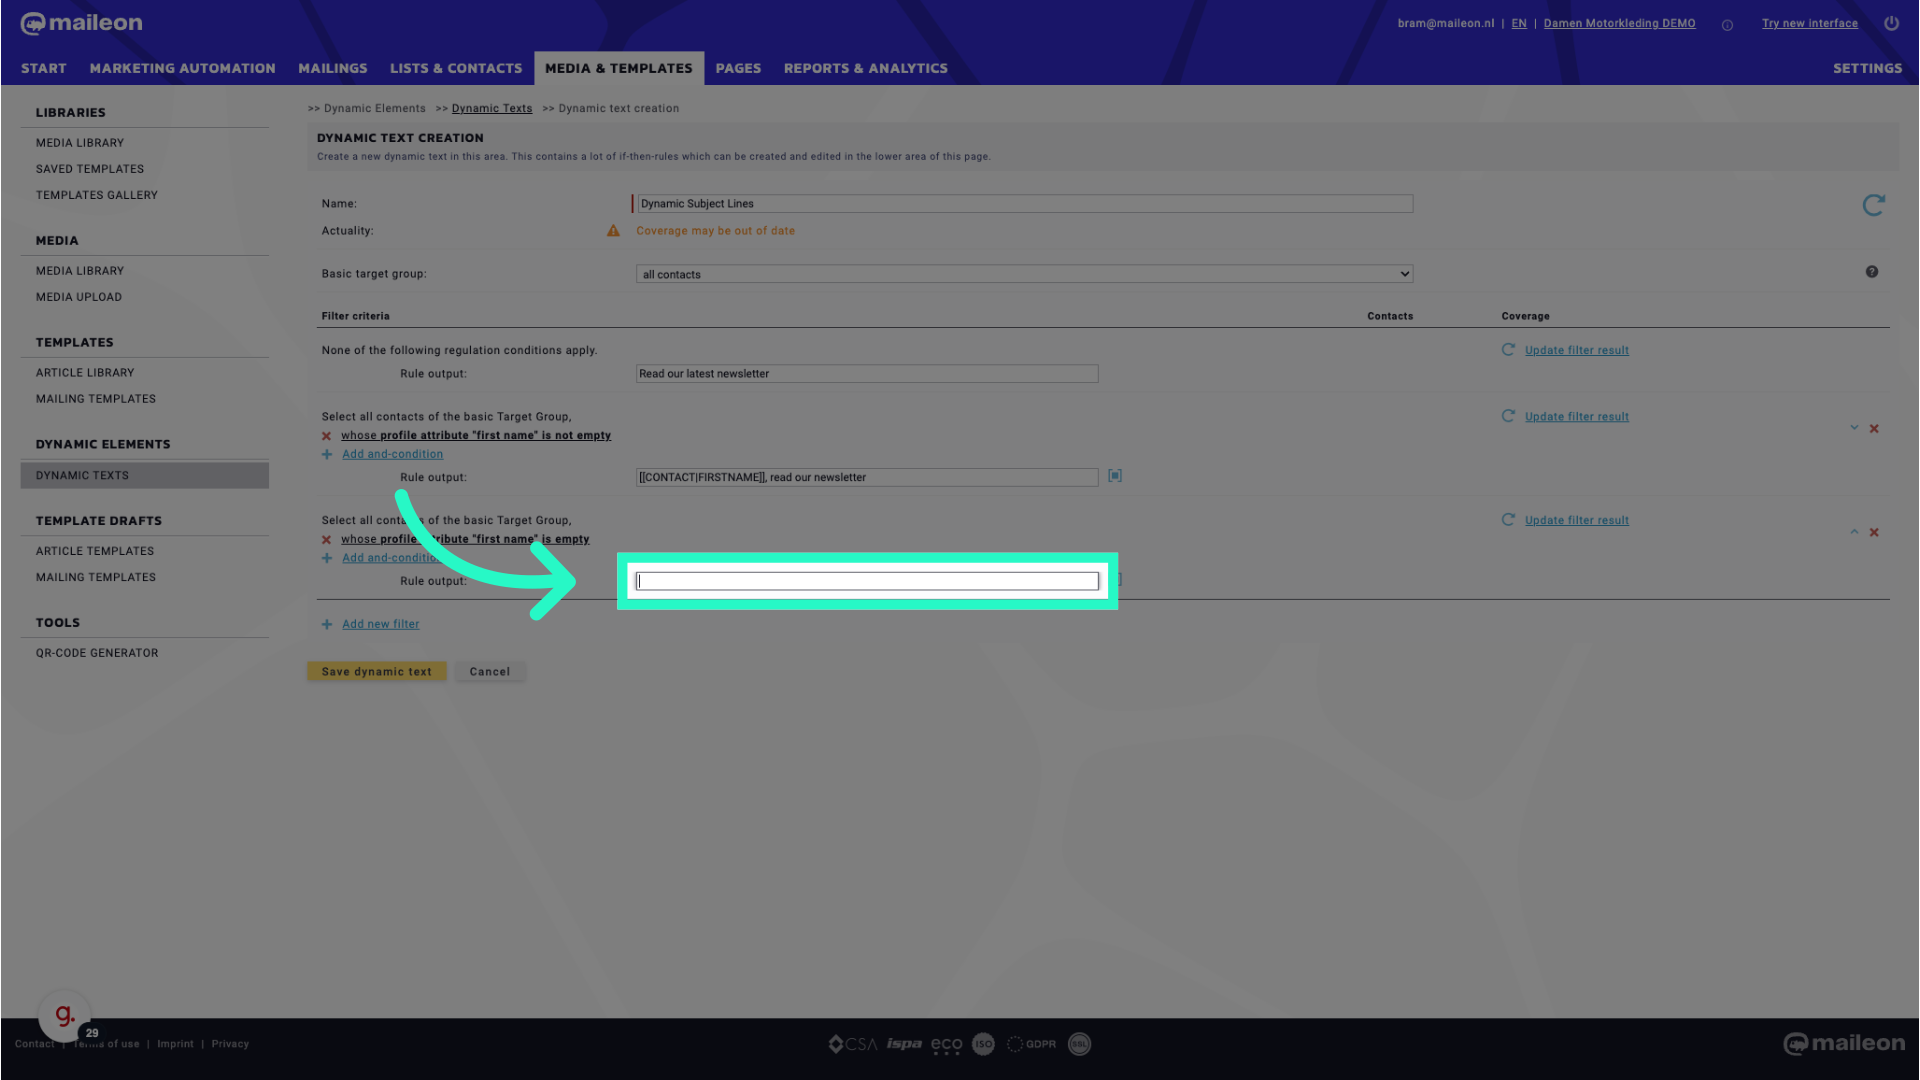
20. Fill "[[CONTACT|FIRSTNAME]], read our newsletter"
Write "[[CONTACT|FIRSTNAME]], read our newsletter" in the specified field
![Fill '[[CONTACT|FIRSTNAME]], read our newsletter'](https://static.guidde.com/v0/qg%2F6MTOFk9gBzdtWUnL4KItRxGH6cv1%2F4UV7NarXxsC465UuKYV2SP%2F4XqXPeumJuoojDftoaAoPA_doc.png?alt=media&token=dc5b5199-3f7e-4d78-9020-1b2de4b42d4a)
21. Click "Add new filter"
Add a new filter for further customisation of dynamic texts.
22. Click "- please select - contact field value" and select first name (or any other field that you want to use)
Select the appropriate contact field value or geographic reference for customisation.

23. Fill "- please select - contact field value geographic reference"
Submit "- please select - contact field value geographic reference" in the appropriate field
24. Click here
Navigate to the desired section by clicking here.

25. Click "- please select - Abo veilig address Afdeling Arbeid optimaal AUTOMATION_TIXBUYERS Award Beeldmanagement BucklesId Chair preference Chars_test city ..."
Select the desired category for dynamic text customisation.
26. Fill "- please select - Abo veilig address Afdeling Arbeid optimaal AUTOMATION_TIXBUYERS Award Beeldmanagement BucklesId Chair preference Chars_test city ..."
Input the desired text

27. Select the criterion you want to use. In this 'is empty' to target anyone without a first name. Of course the fall back title will do the same, but this gives you full control and visibility on what happens with your data.
Choose the filter condition for personalised dynamic texts.
28. Fill "- please select -contains does not contain ends with is empty is equal to is not empty is not equal to starts with"
Write your desired text.
29. Click "Save filter condition"
Save the filter condition applied for dynamic text personalisation.

30. Click here
Navigate to the desired section by clicking here.
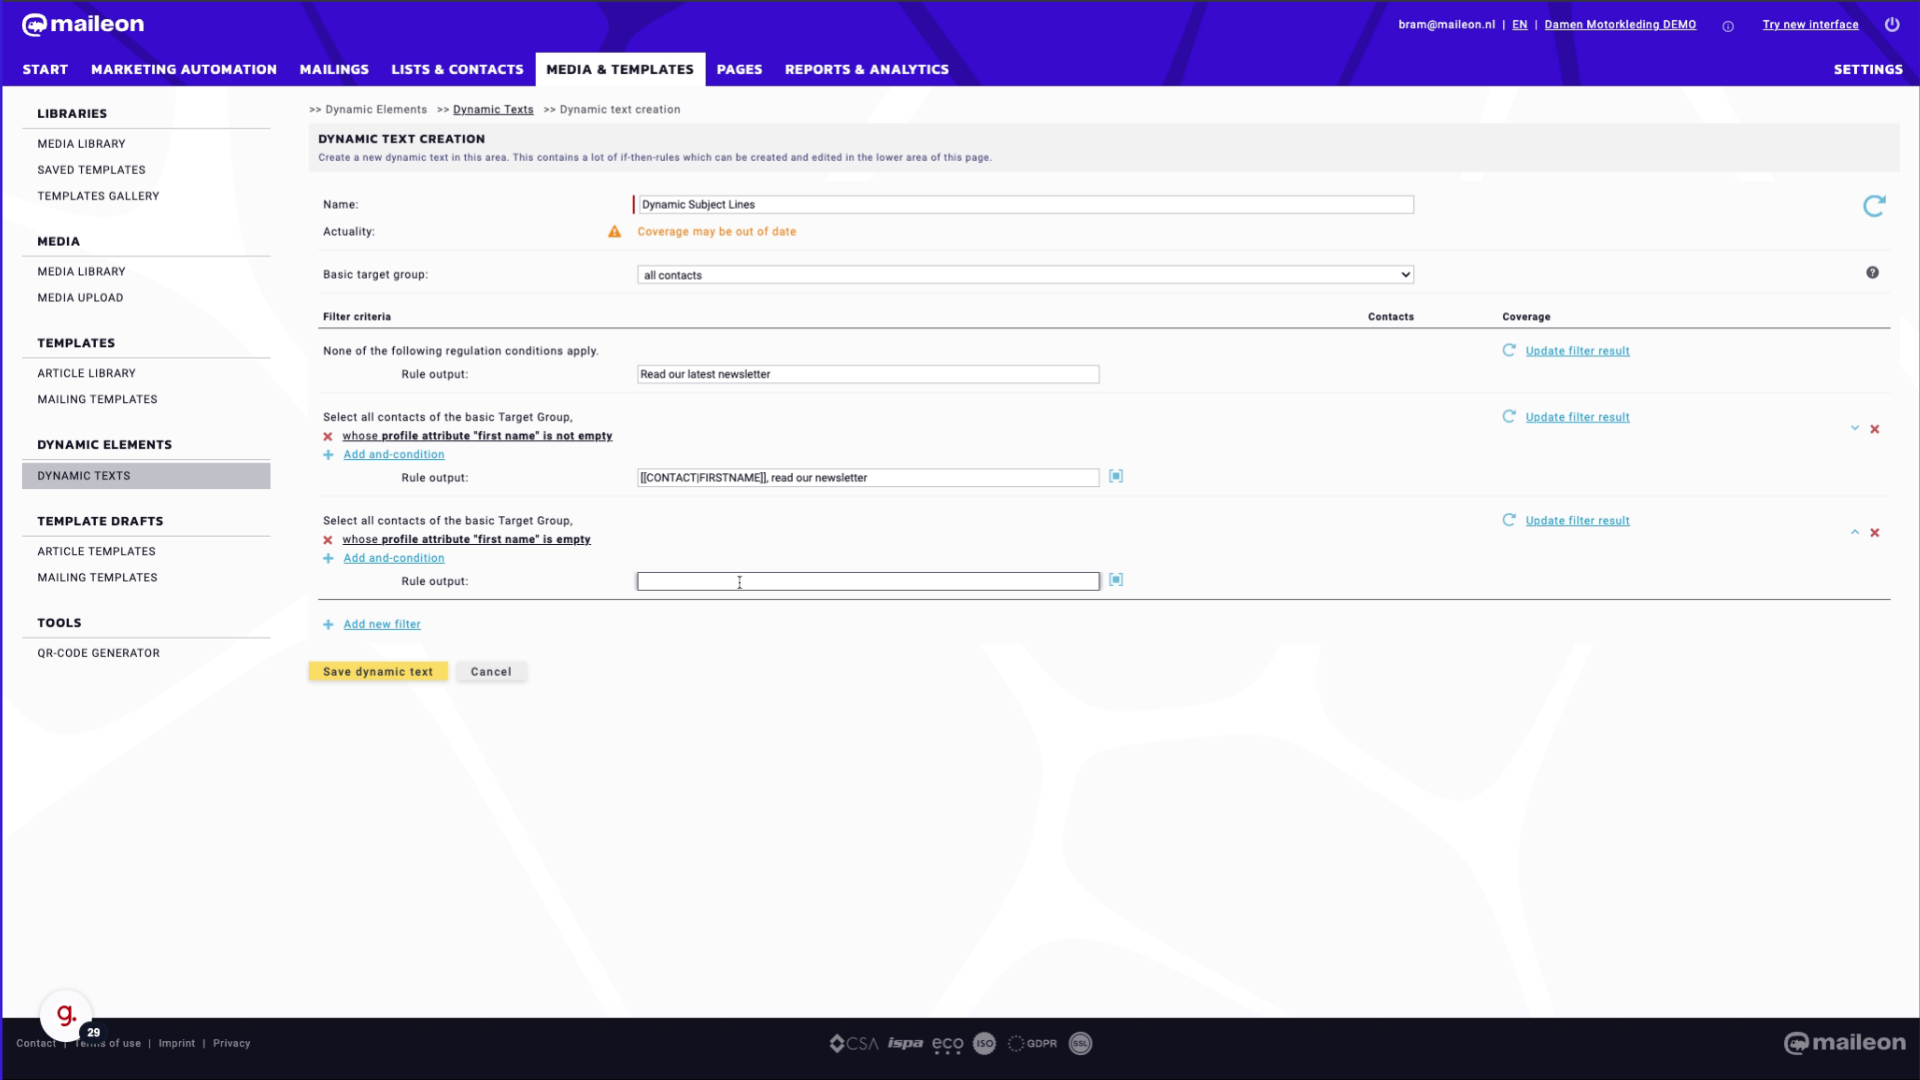
31. Fill "Read our newsletter"
Fill in "Read our newsletter"
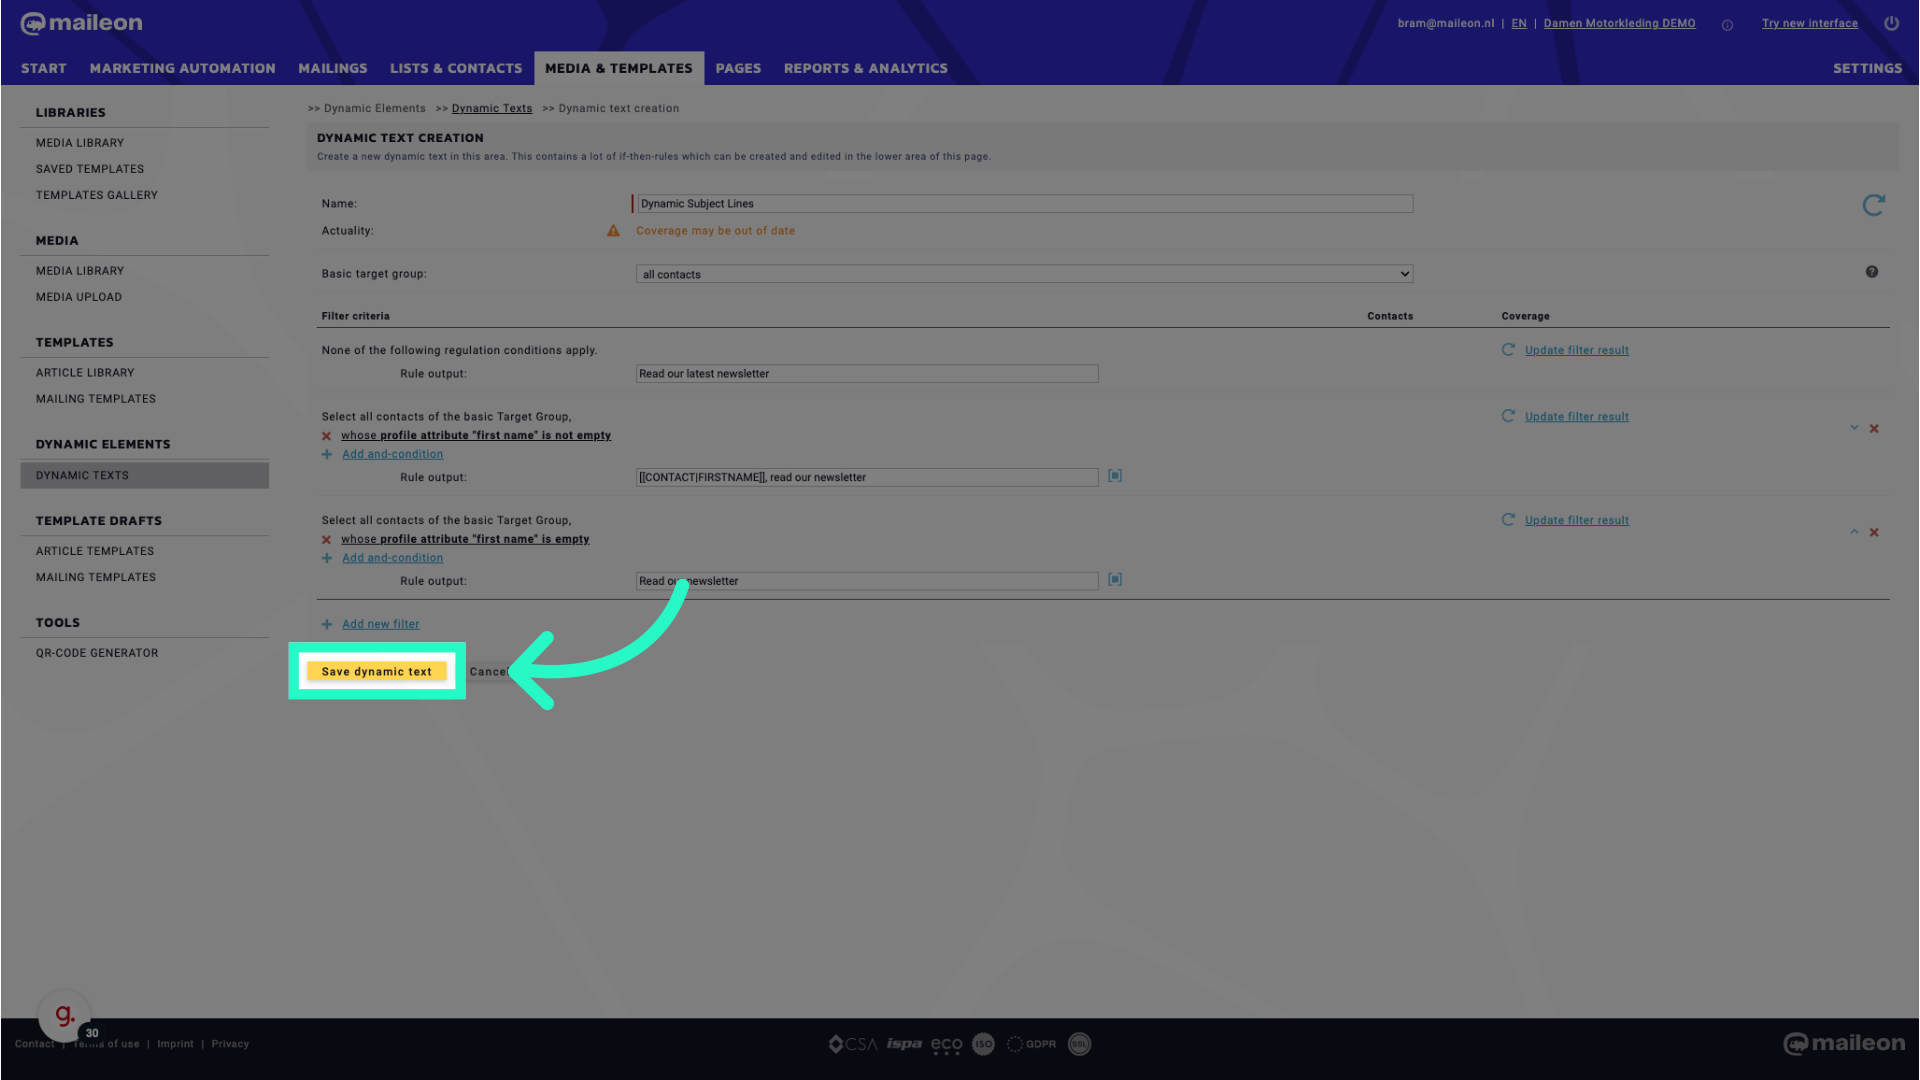
32. Click "Save dynamic text"
Save the created dynamic text for future use.
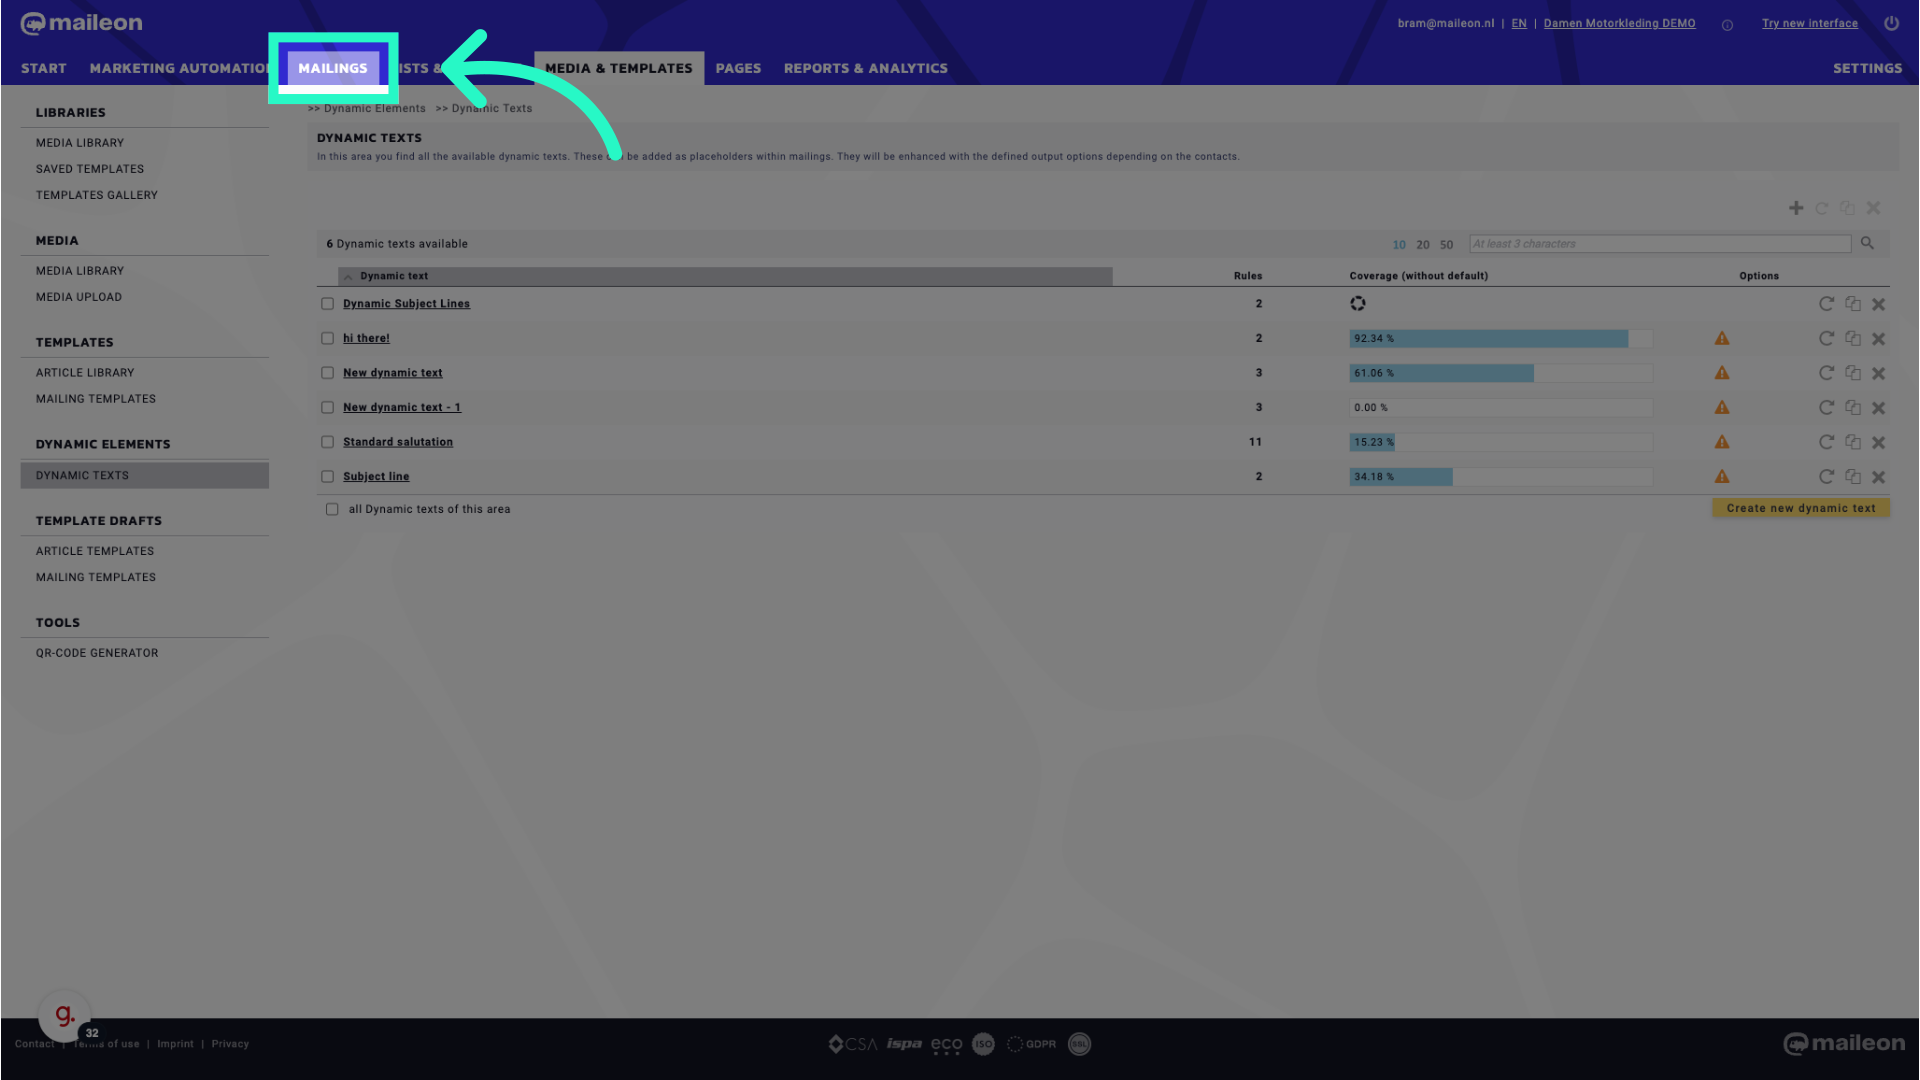
33. How to use it in Mailings? Click "Mailings"
Access the "Mailings" section for further actions.
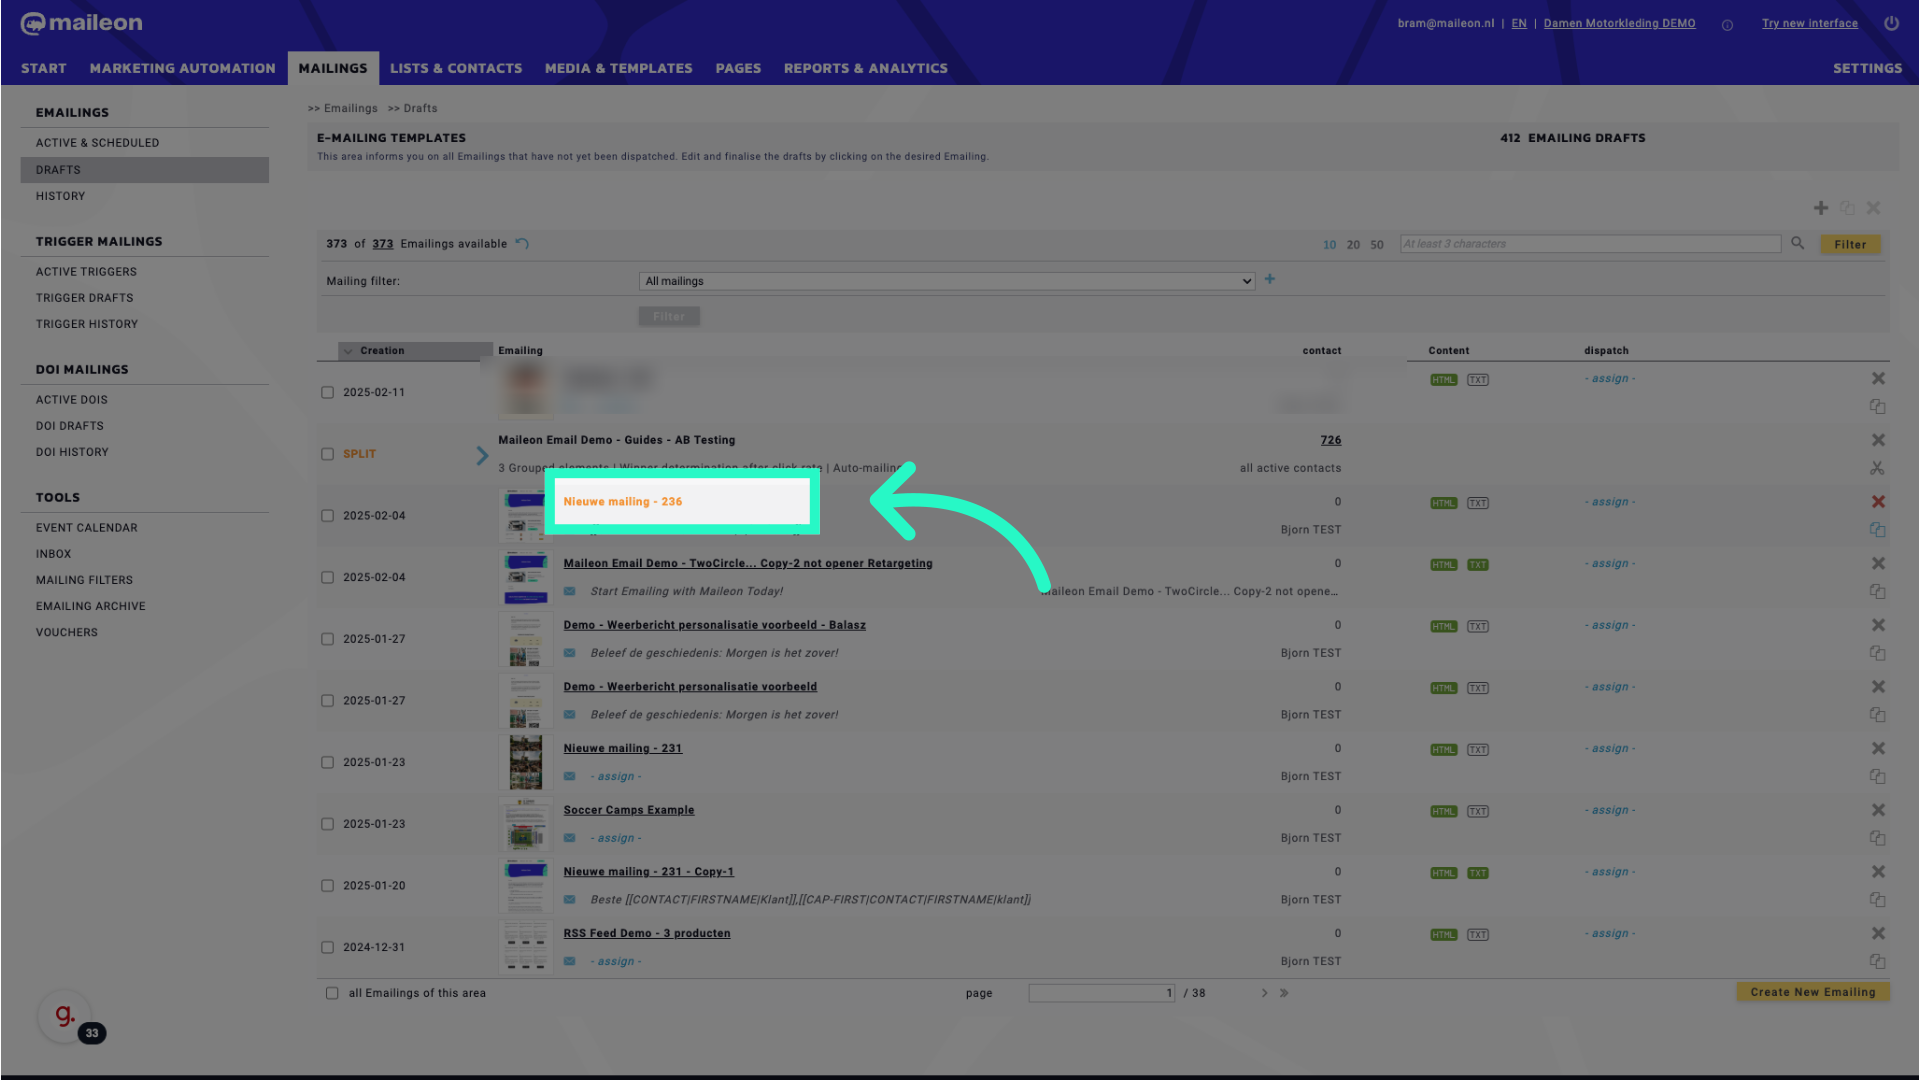
34. Select the campaign that needs the dynamic texts
Select the specific mailing for subject line personalisation.
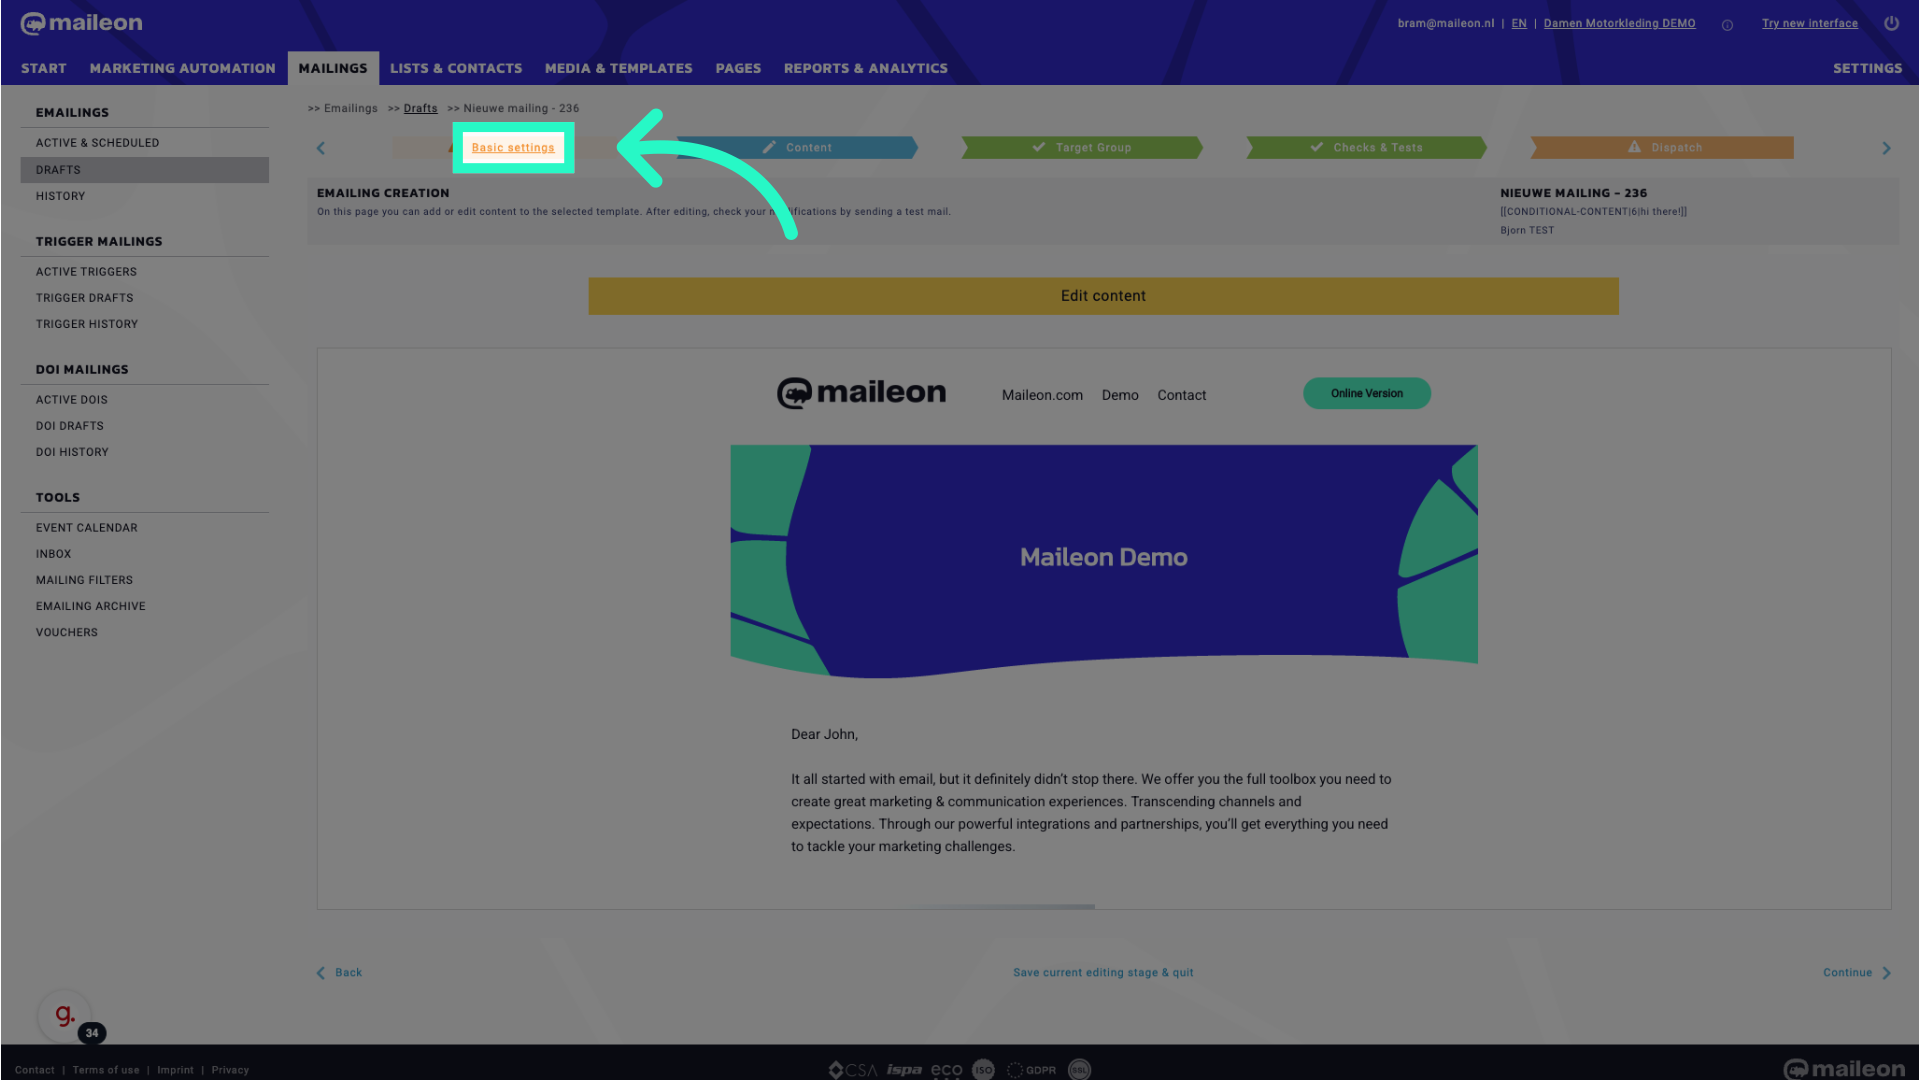
35. Click "Basic settings"
Access the basic settings for the selected mailing.
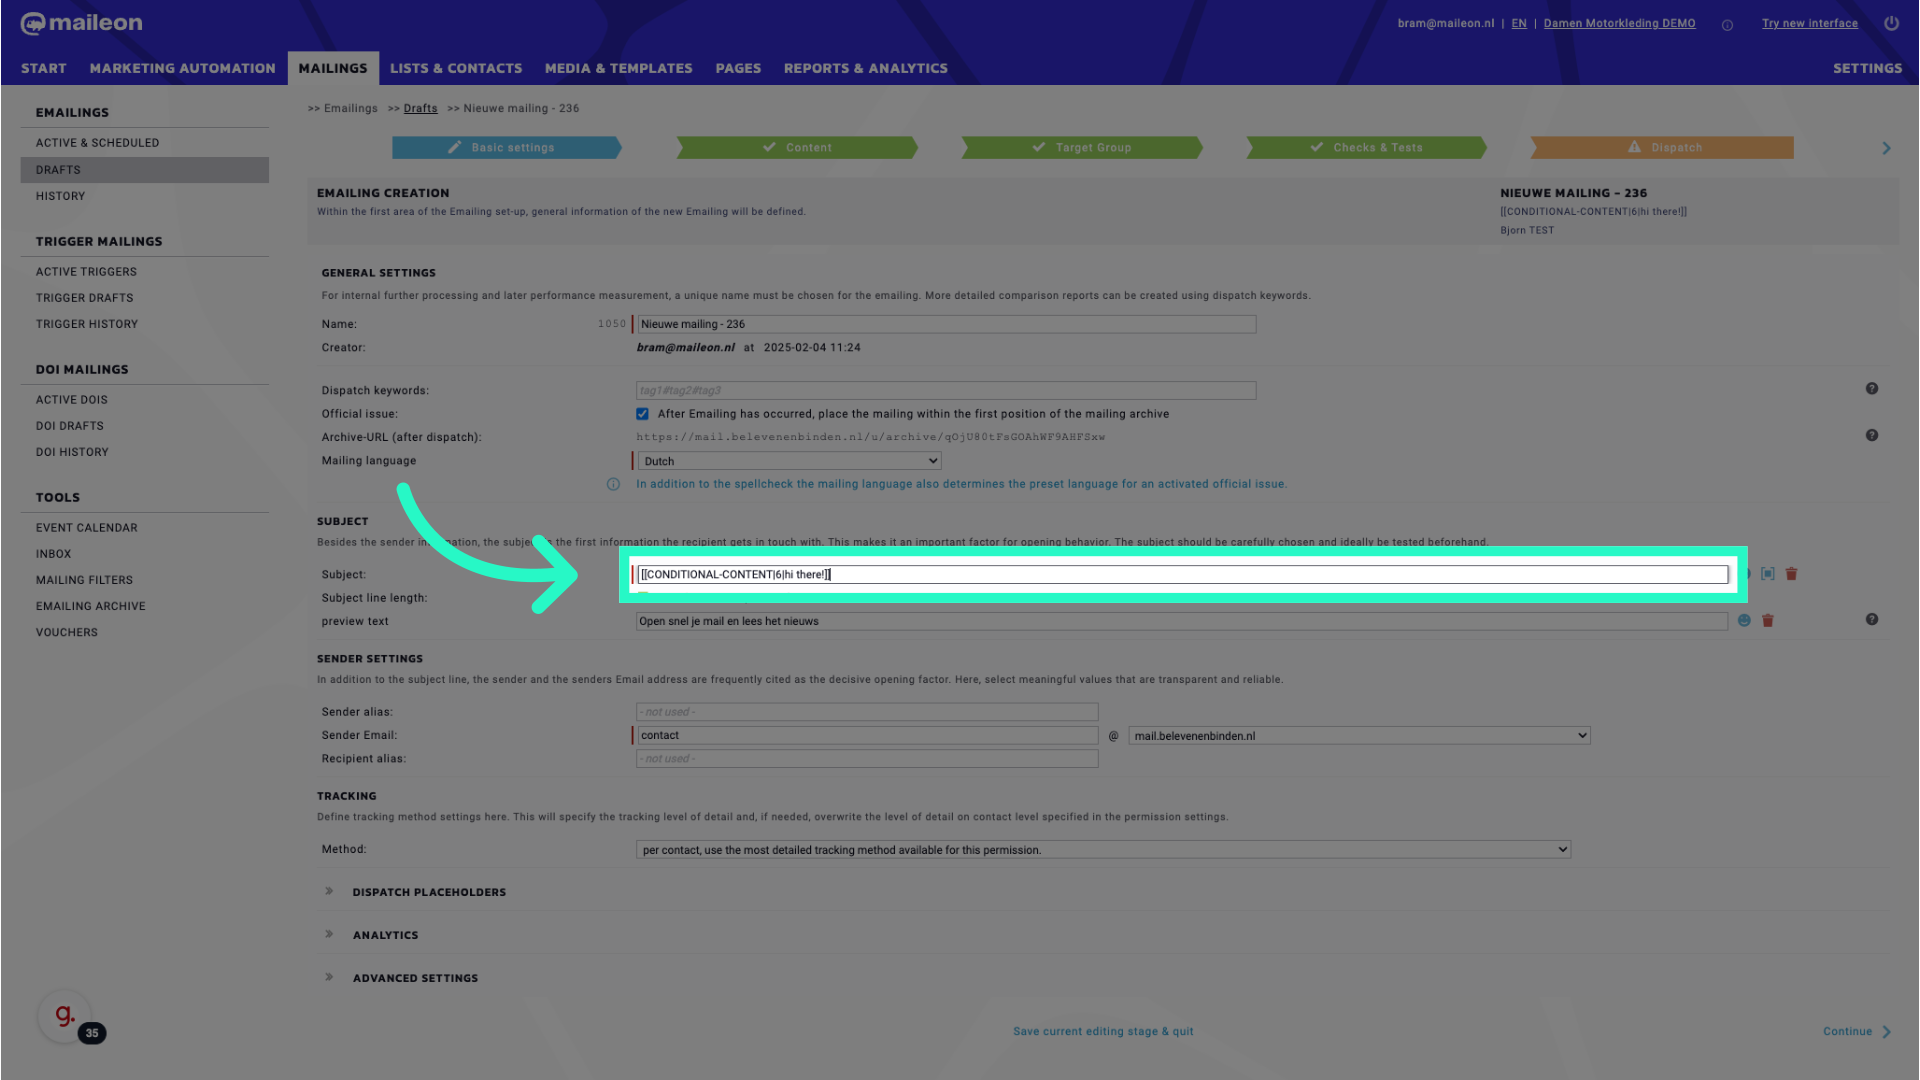
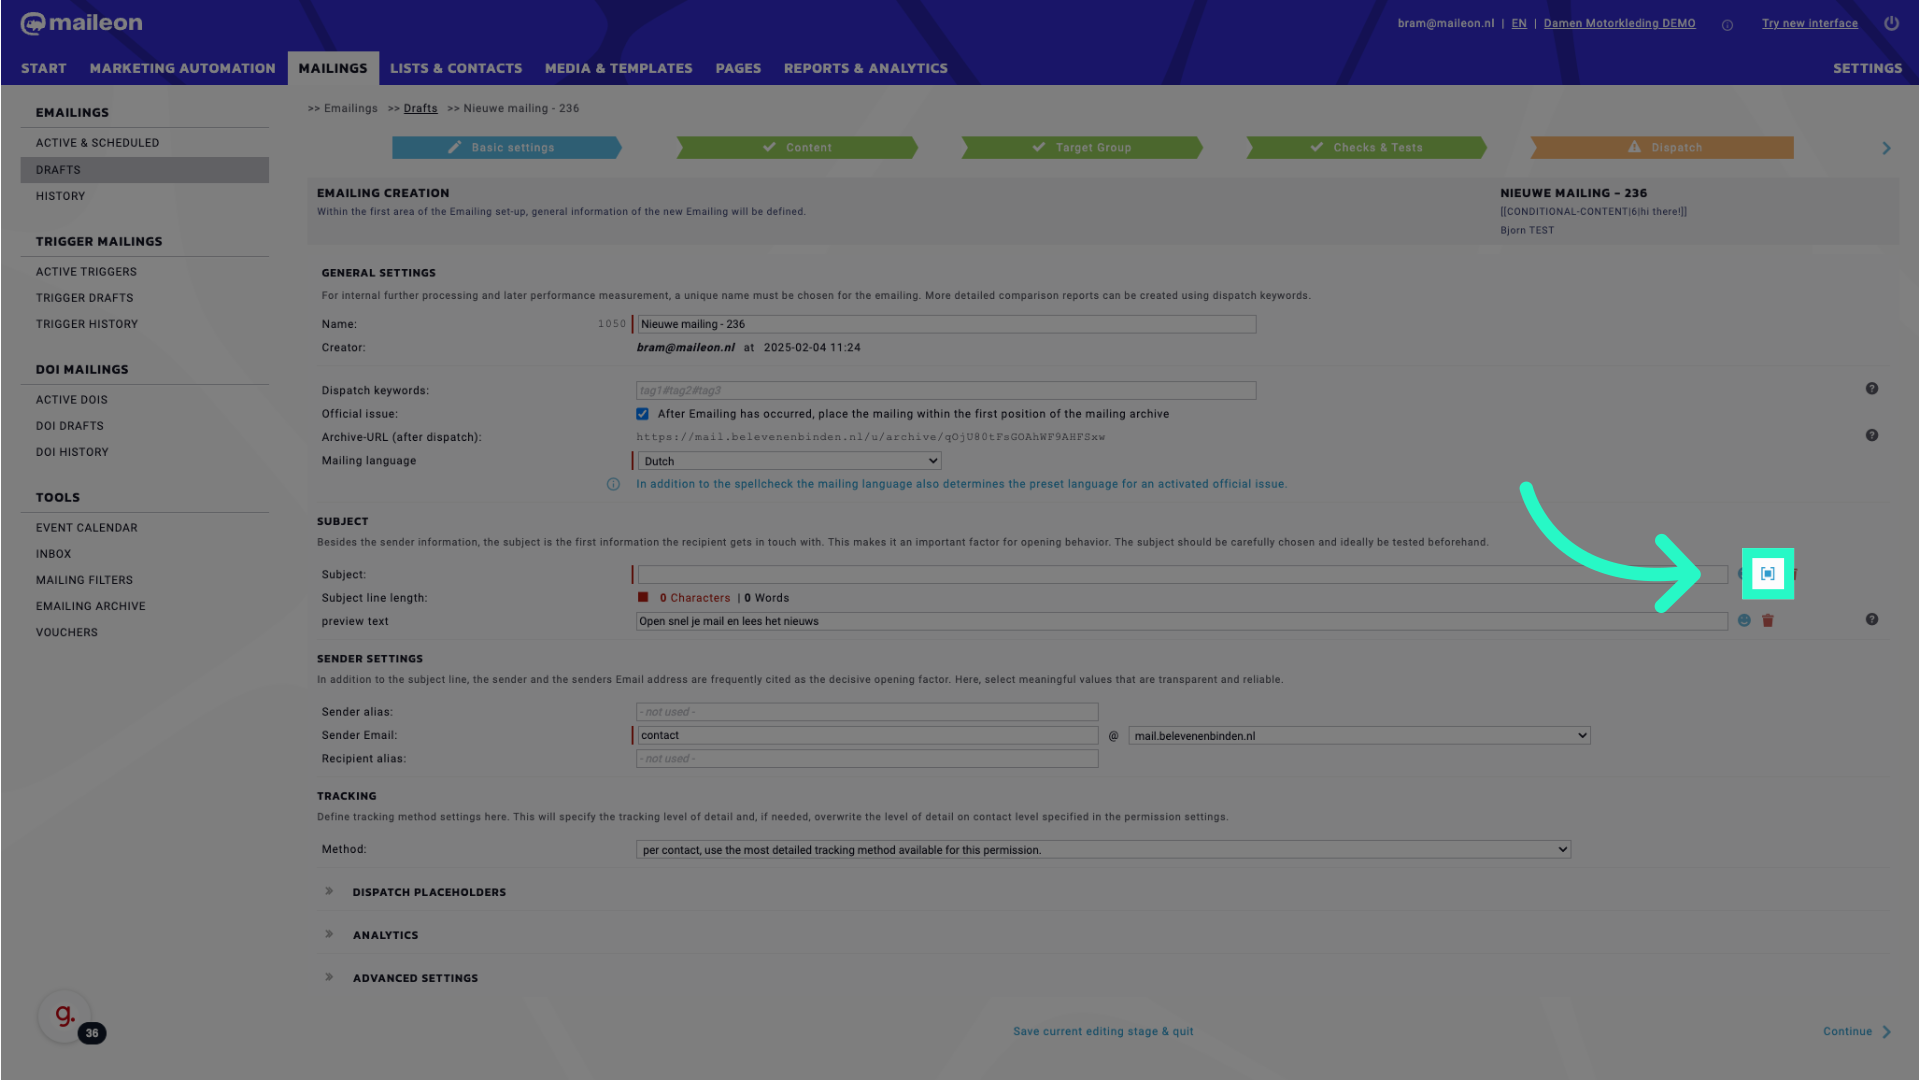
36. Click in the subject line text field.
Proceed by adding the dynamic text content for personalised subject lines.
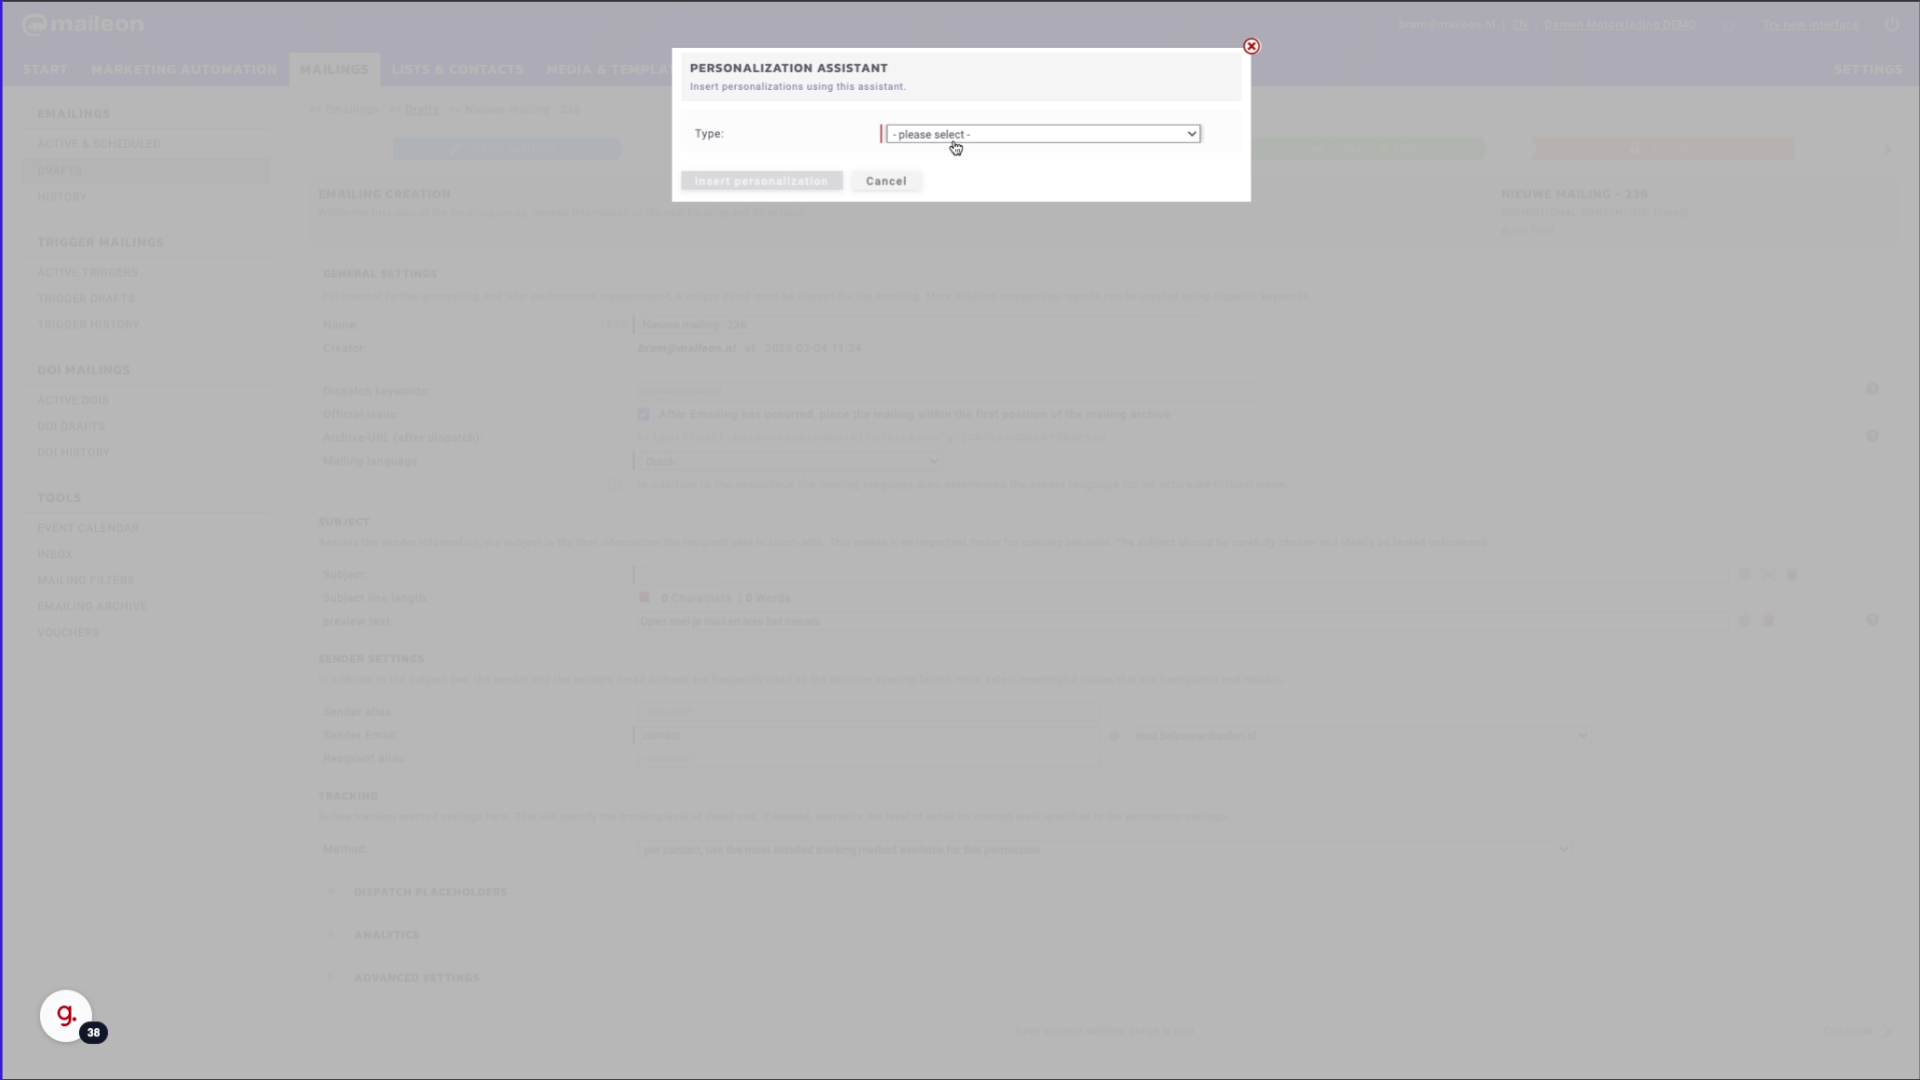
37. Click here
Navigate to the desired section by clicking here.
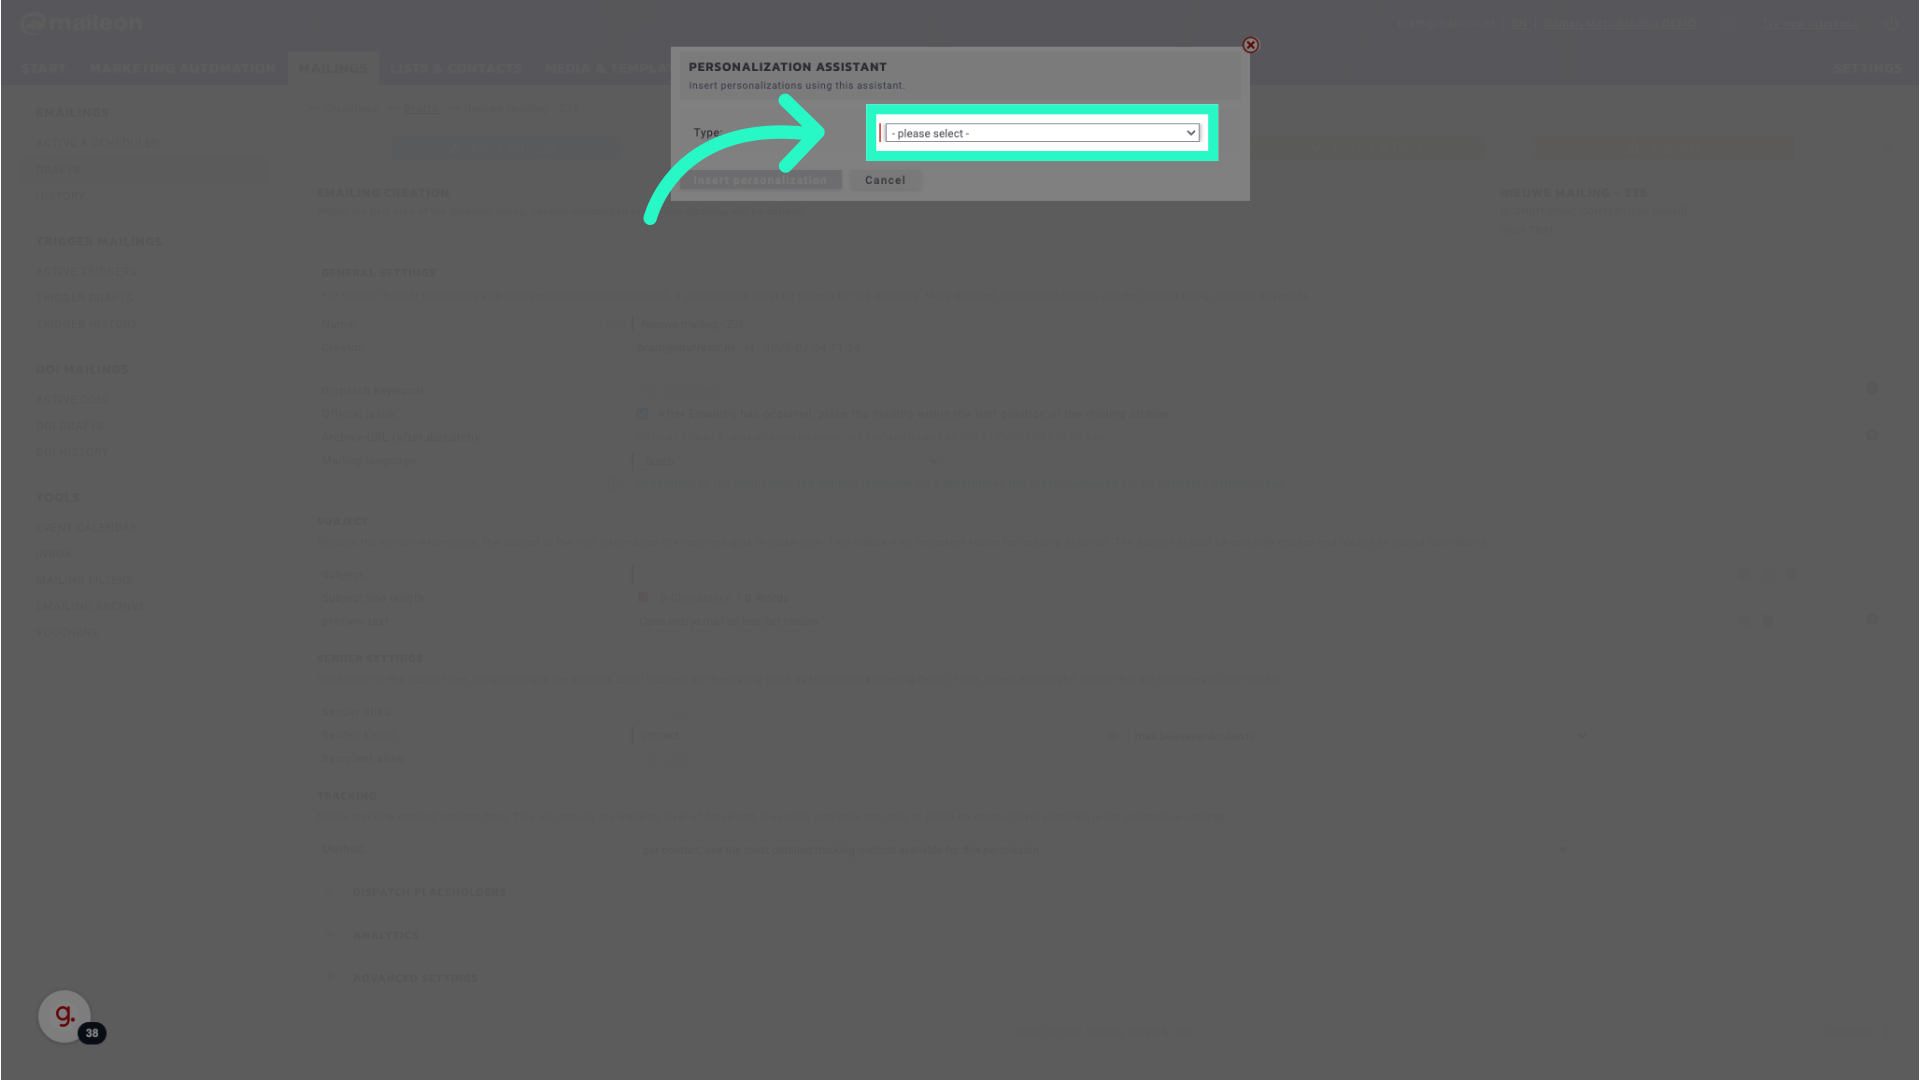
38. Click and select Dynamic text
Choose the appropriate category for dynamic text personalisation.
39. Fill "- please select - Contact field Mailing property Account property Function Dynamic text"
Enter "- please select - Contact field Mailing property Account property Function Dynamic text" in the provided field
40. Click "Dynamic Subject Lines hi there! New dynamic text New dynamic text - 1 Standard..."
Select the dynamic subject line for customisation.
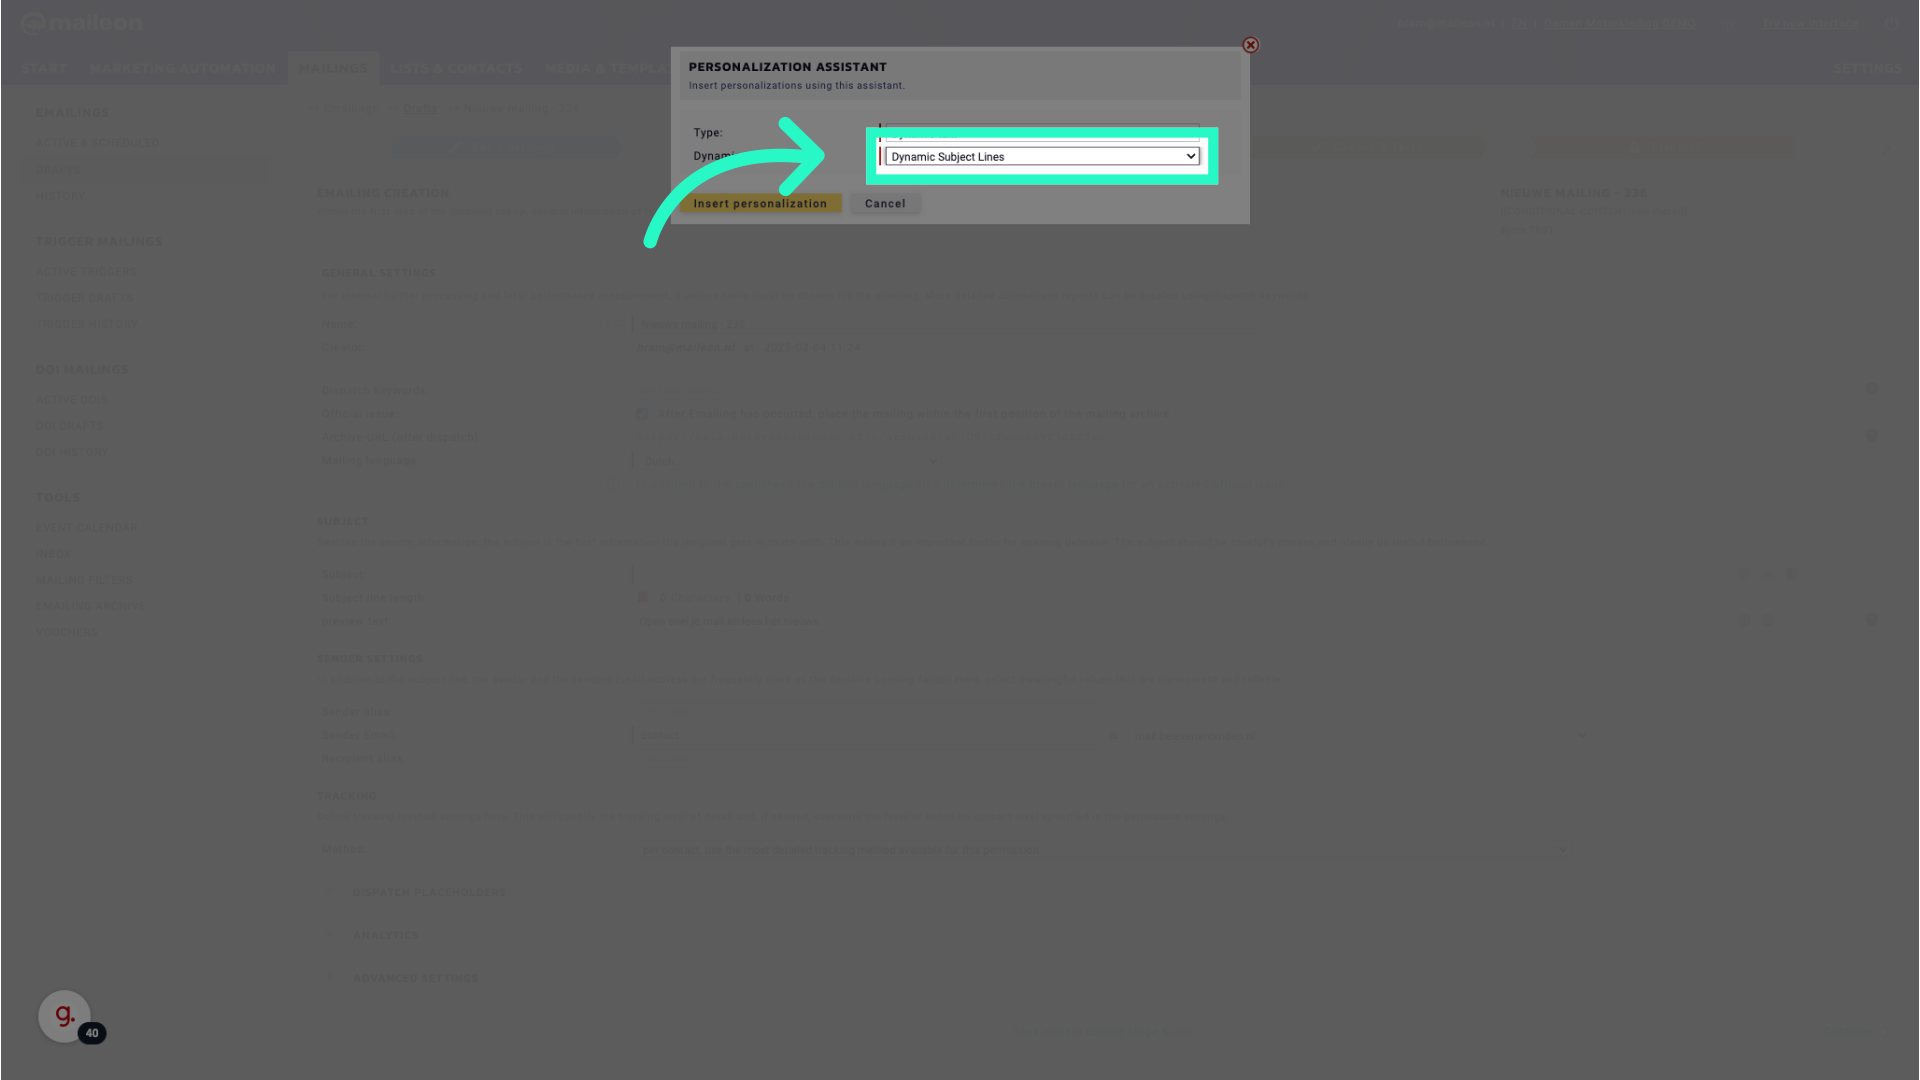
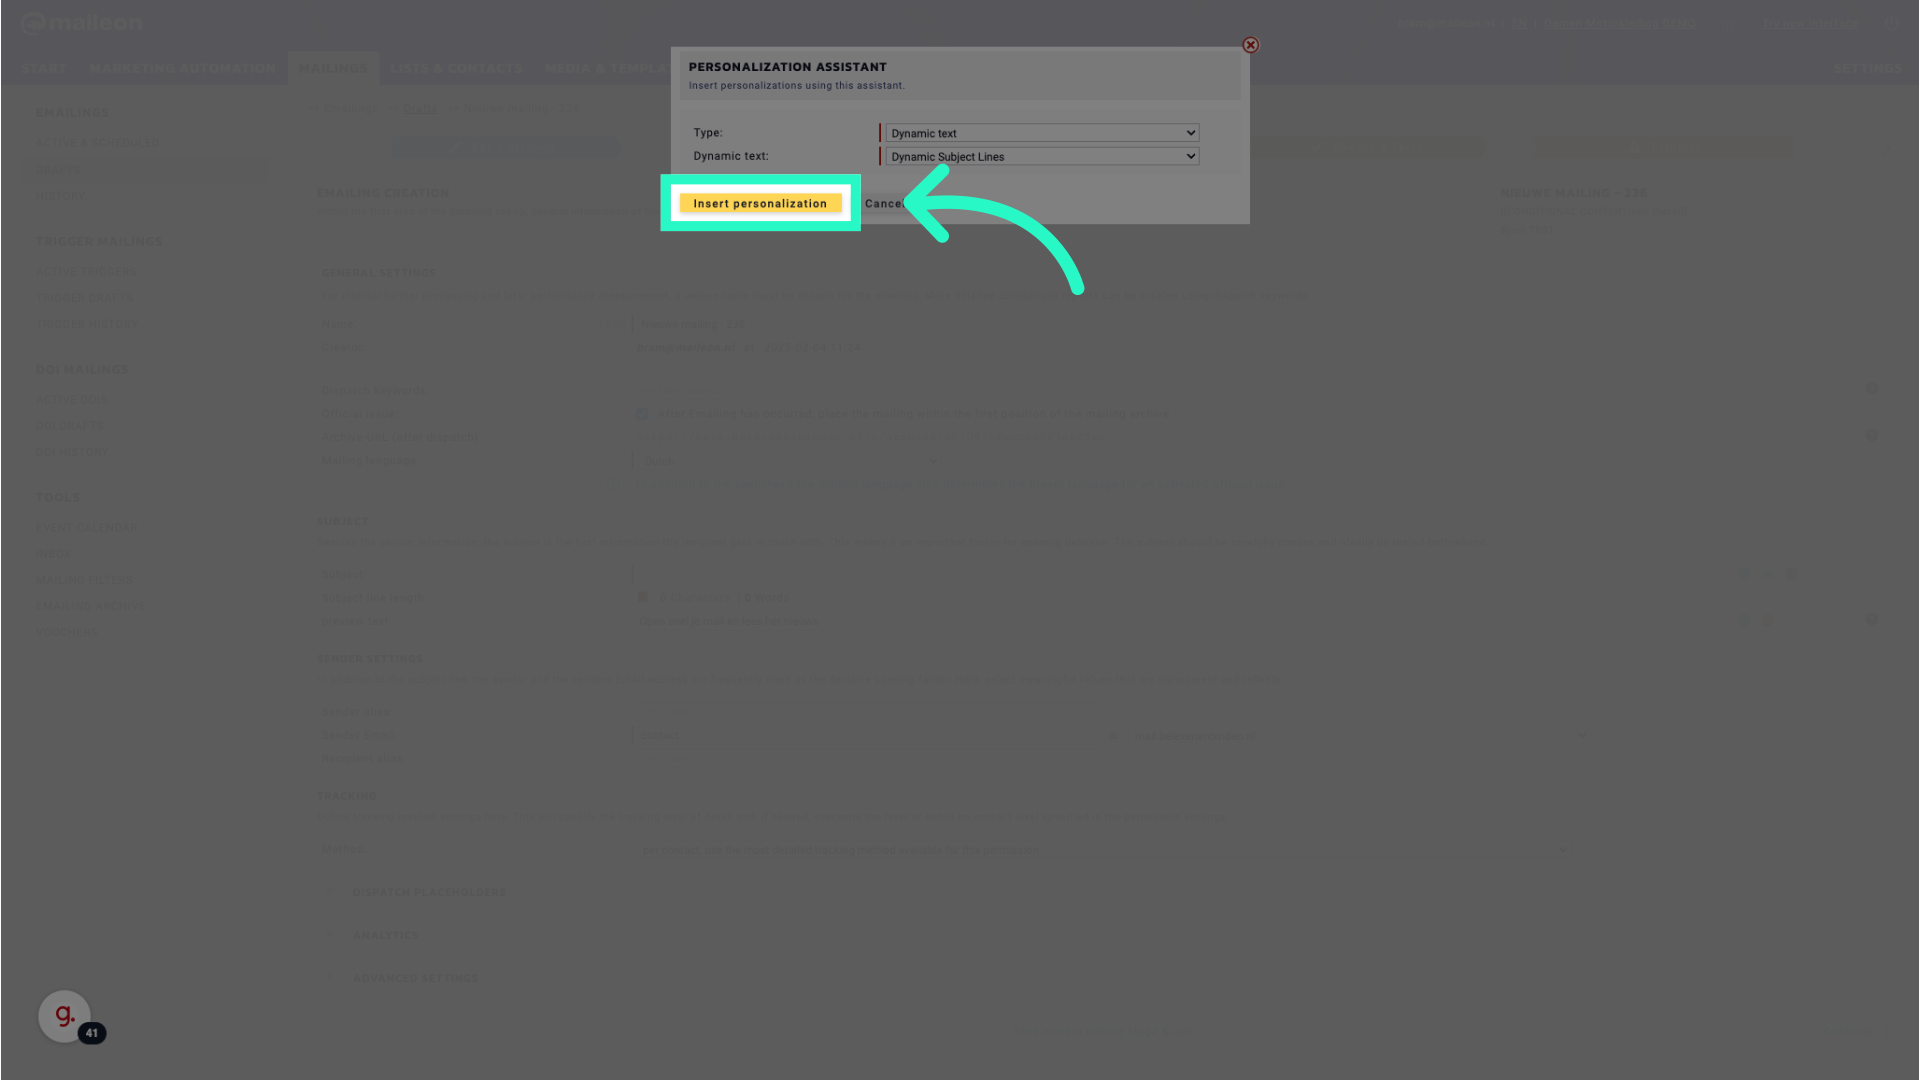
41. Click "Insert personalization"
Insert the desired personalisation element for dynamic subject lines.
This guide covered the steps to create and customize dynamic texts in Maileon for personalised subject lines, enabling you to tailor email content based on recipient information effectively.